itp: thesis2

[ITP: Thesis II] Ctrl + Art + Delight

Ok, these are the vibessss

I always wanted a cartoon sidekick like Lizzie McGuire

Also, my dear friend Lita shared another artistic reference that I think is super relevant to this project: Milford Graves, A Mind-Body Deal… will look into this in more depth in the future. When there’s more time…

Finishing up Womb

No words, just pictures.

Big mess!

Arduino Nano 33 IoT documentation

Oh okay, here are some words! One of the things I was desperately trying to accomplish with my washing machine was to use only one power supply. The motor runs on 24V and the LEDs need 5V and the max input voltage to the Arduino VIN pin is 21V. I monkeyed with the LM317 voltage regulator to step down the 24V to something the Arduino could handle. Bianca shared this super handy website to calculate the resistors needed to step down using the LM317. The voltage regulator got hot, but I was getting the expected voltage out and was able to power my Arduino Nano 33 IoT. However, the LEDs were not lighting up and I only measured ~2.5V out of the 5V pin. Turns out the Arduino can’t generate 5V if it is being powered externally.🤦🏽‍♀️

So, the current setup has two power supplies coming out of the washing machine but a future project would be to use another voltage regulator to create a 5V rail and only use the 24V power supply to run the whole system.

Installation Design

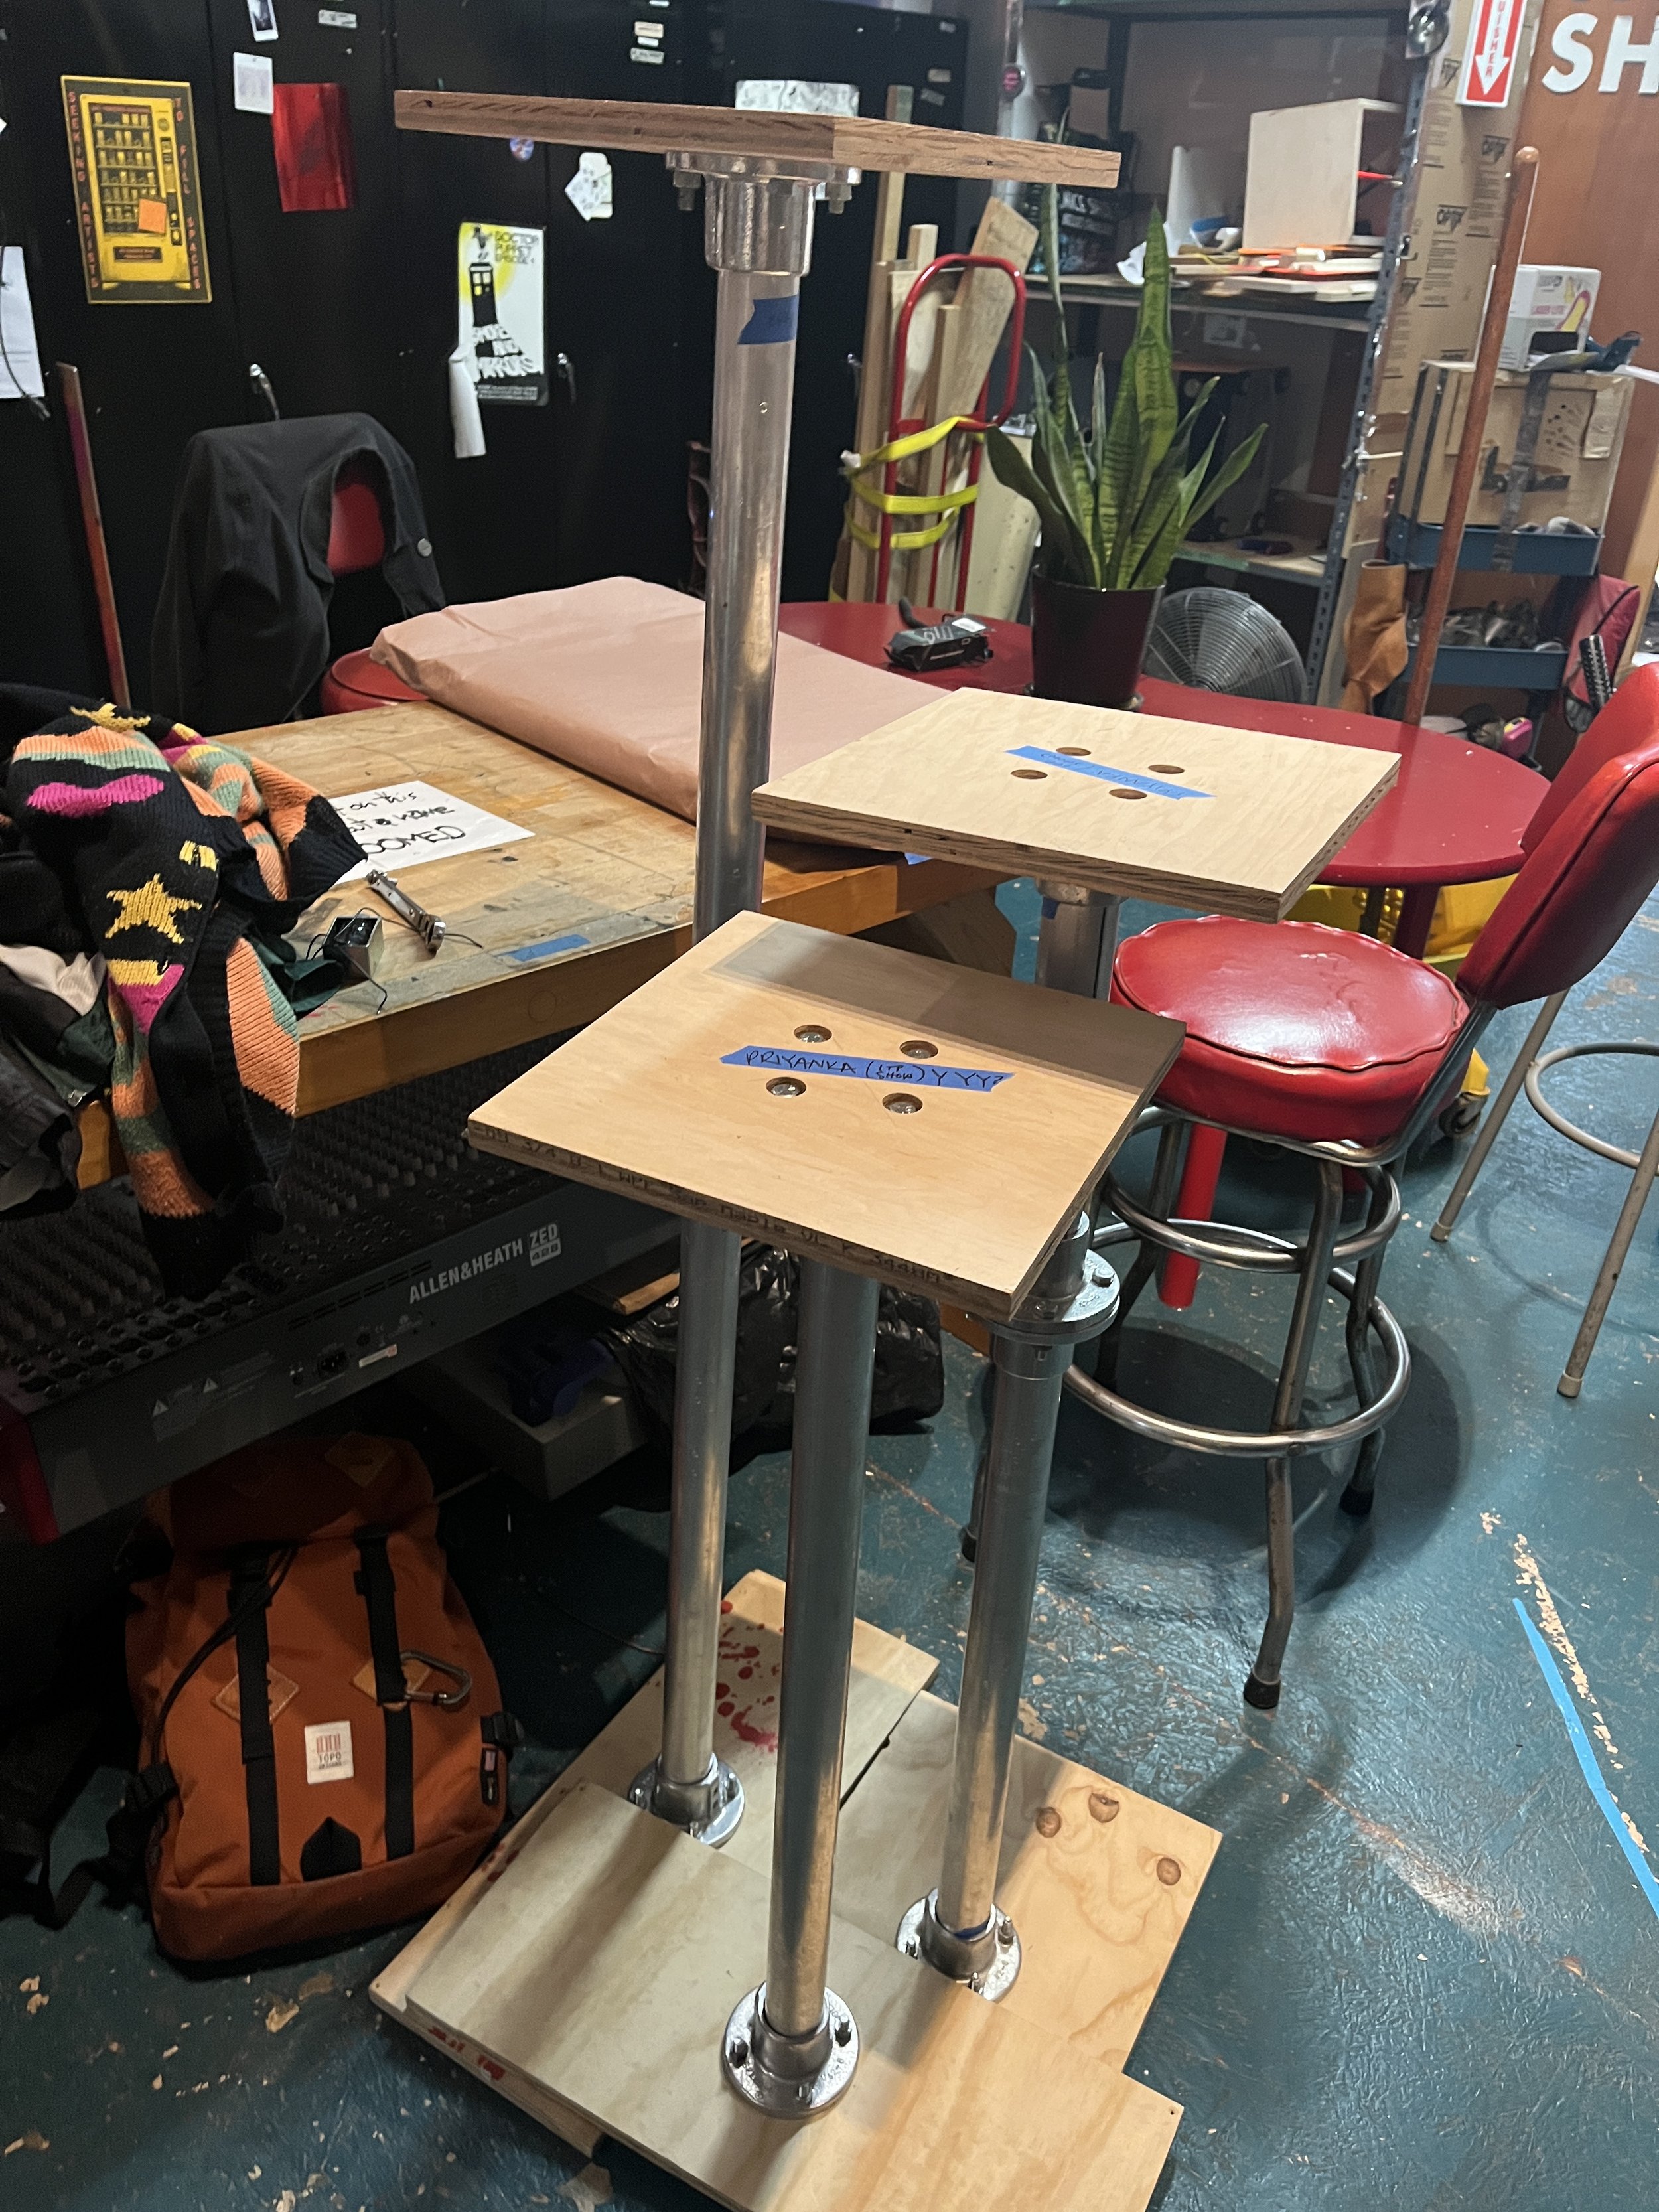
Something I was really unsure about was how all the artifacts would come together into one art piece or installation. I really didn’t want to just put all my stuff on a table for people to look at… it is supposed to resemble a body afterall. With my time and budget being what it was, I decided to go with something that was suggested to me in the alumni feedback sessions: put all the sculptures on uniform pedestals or columns.

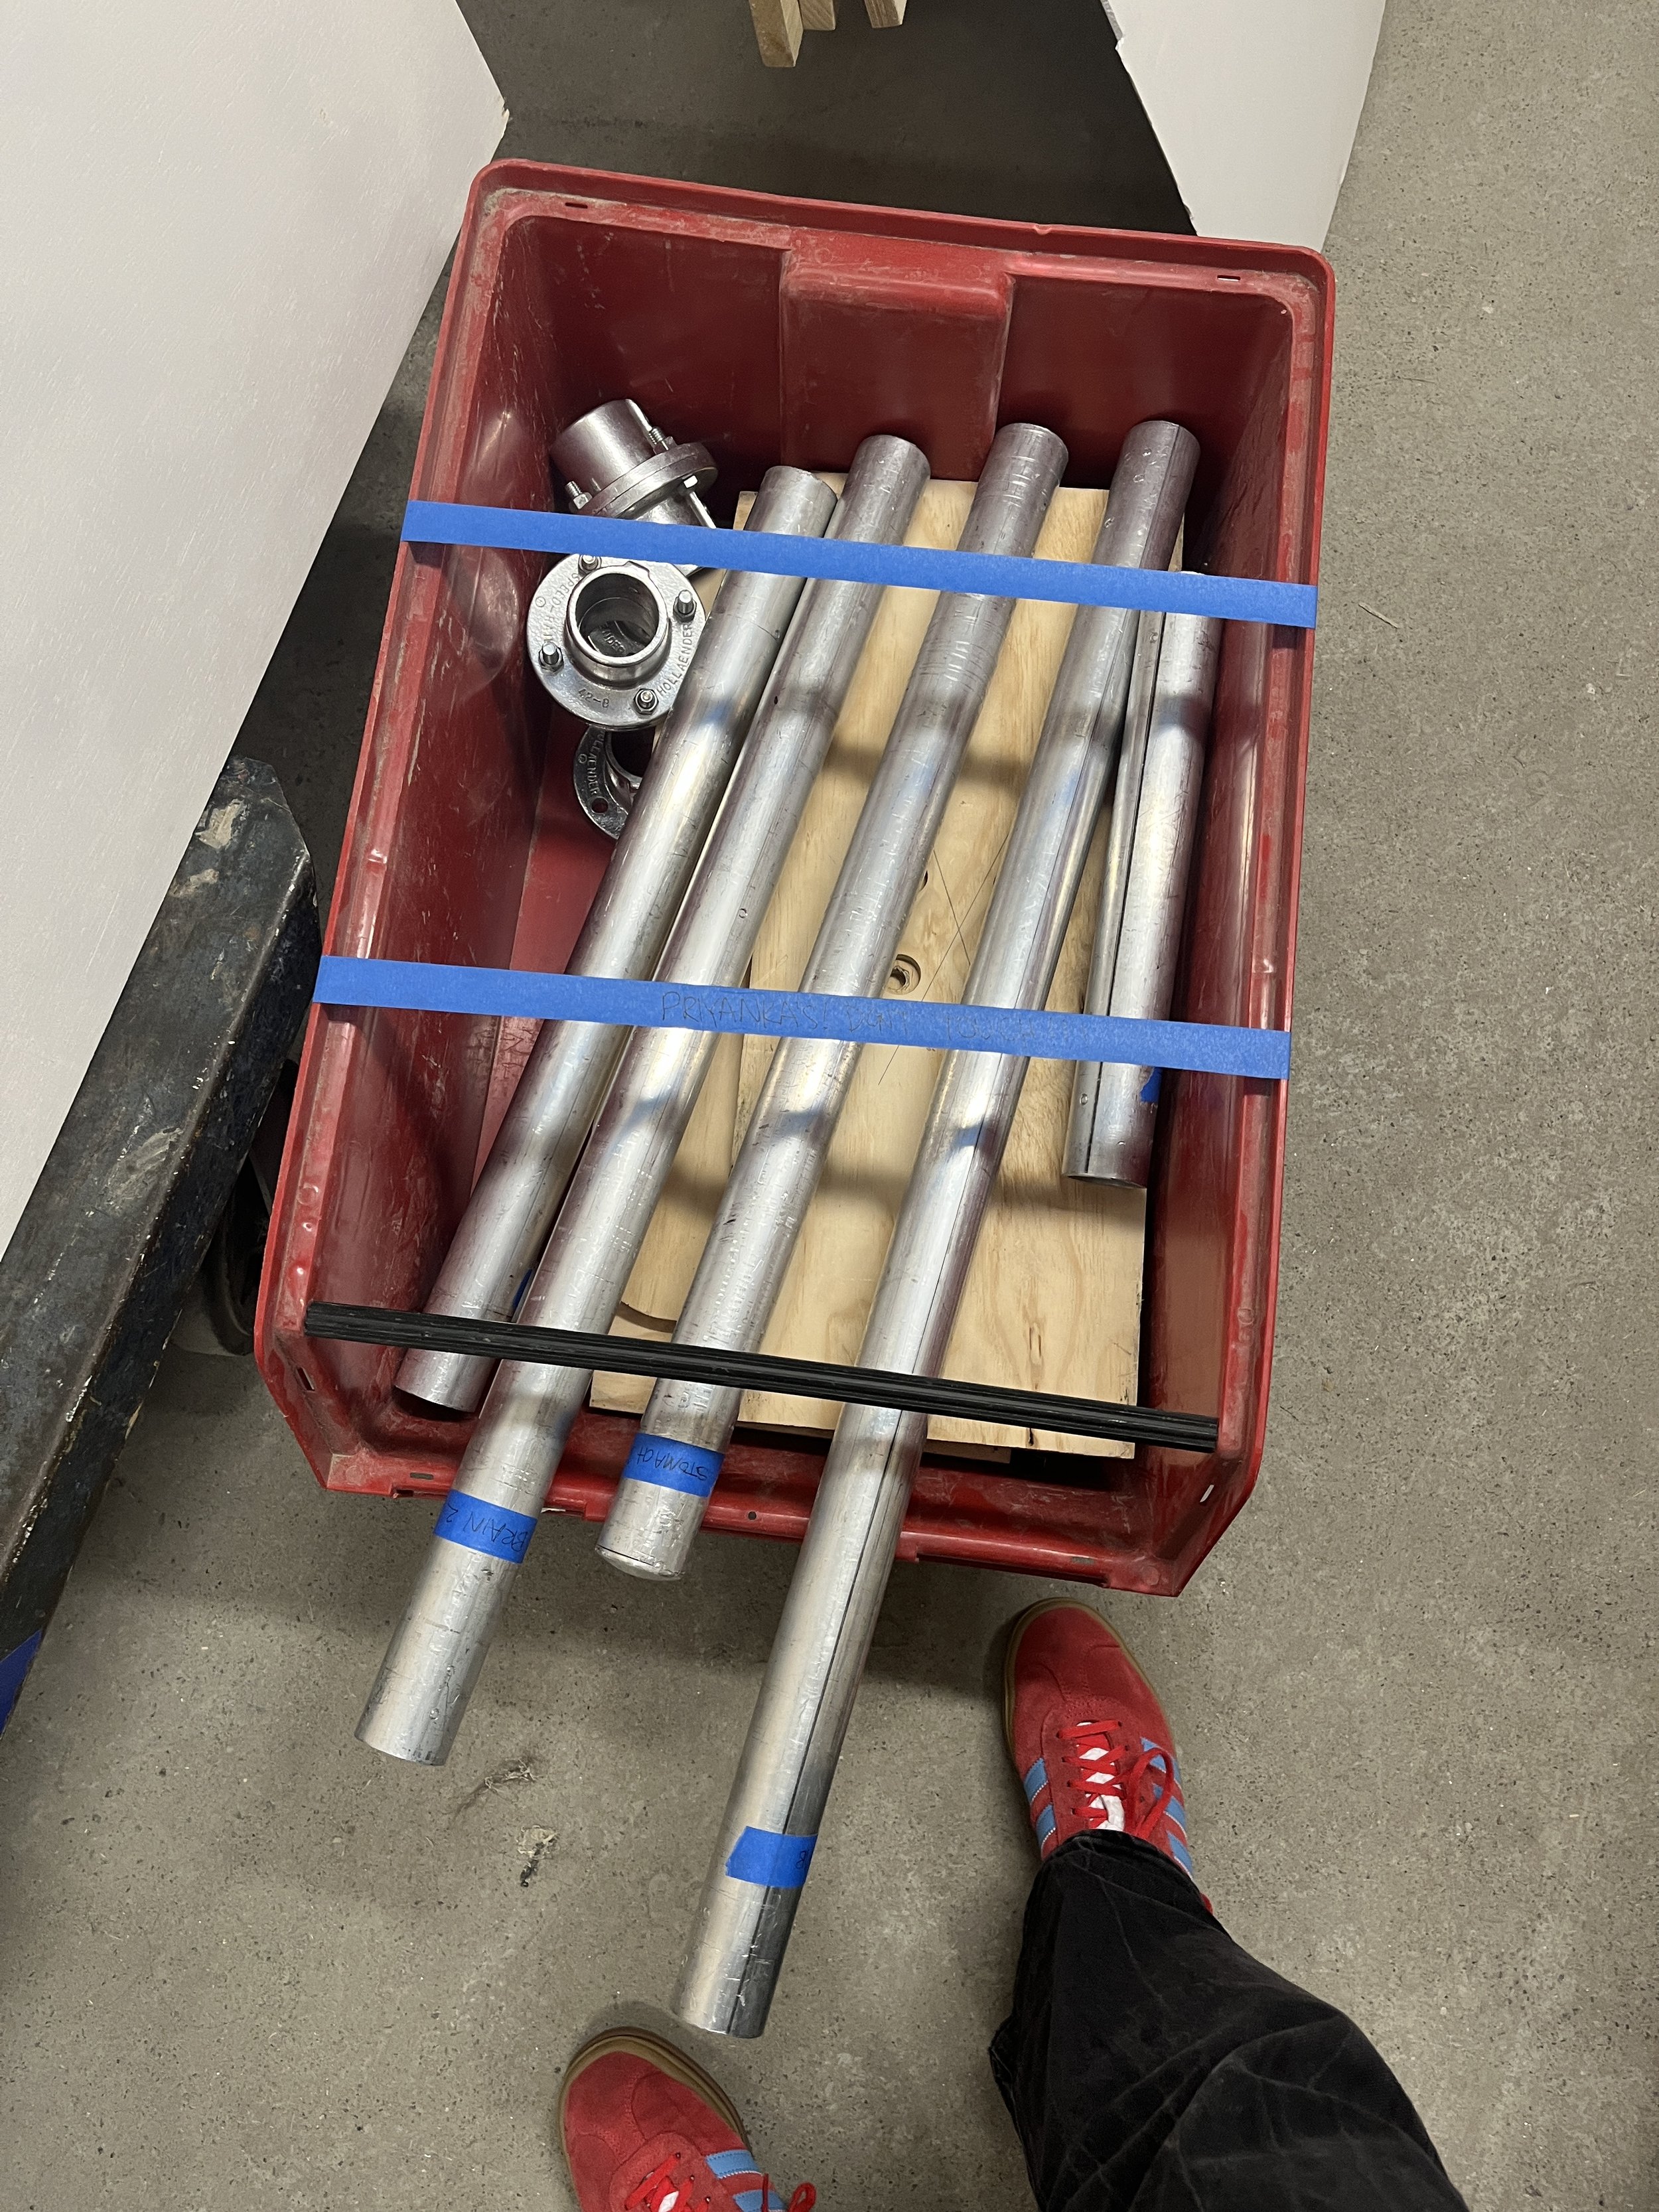
Originally I had hoped I would be able to create cardboard stands for all my sculptures that would be in the shape of legs. However, based on some office hours I had with Ian in the shop it became apparent that the cardboard might not be able to hold up the heavier sculptures. I opted to use our department’s speed rail and I sifted through the random length pipes to make three pedestals that were at Priyanka brain, stomach, and womb height.

Handout

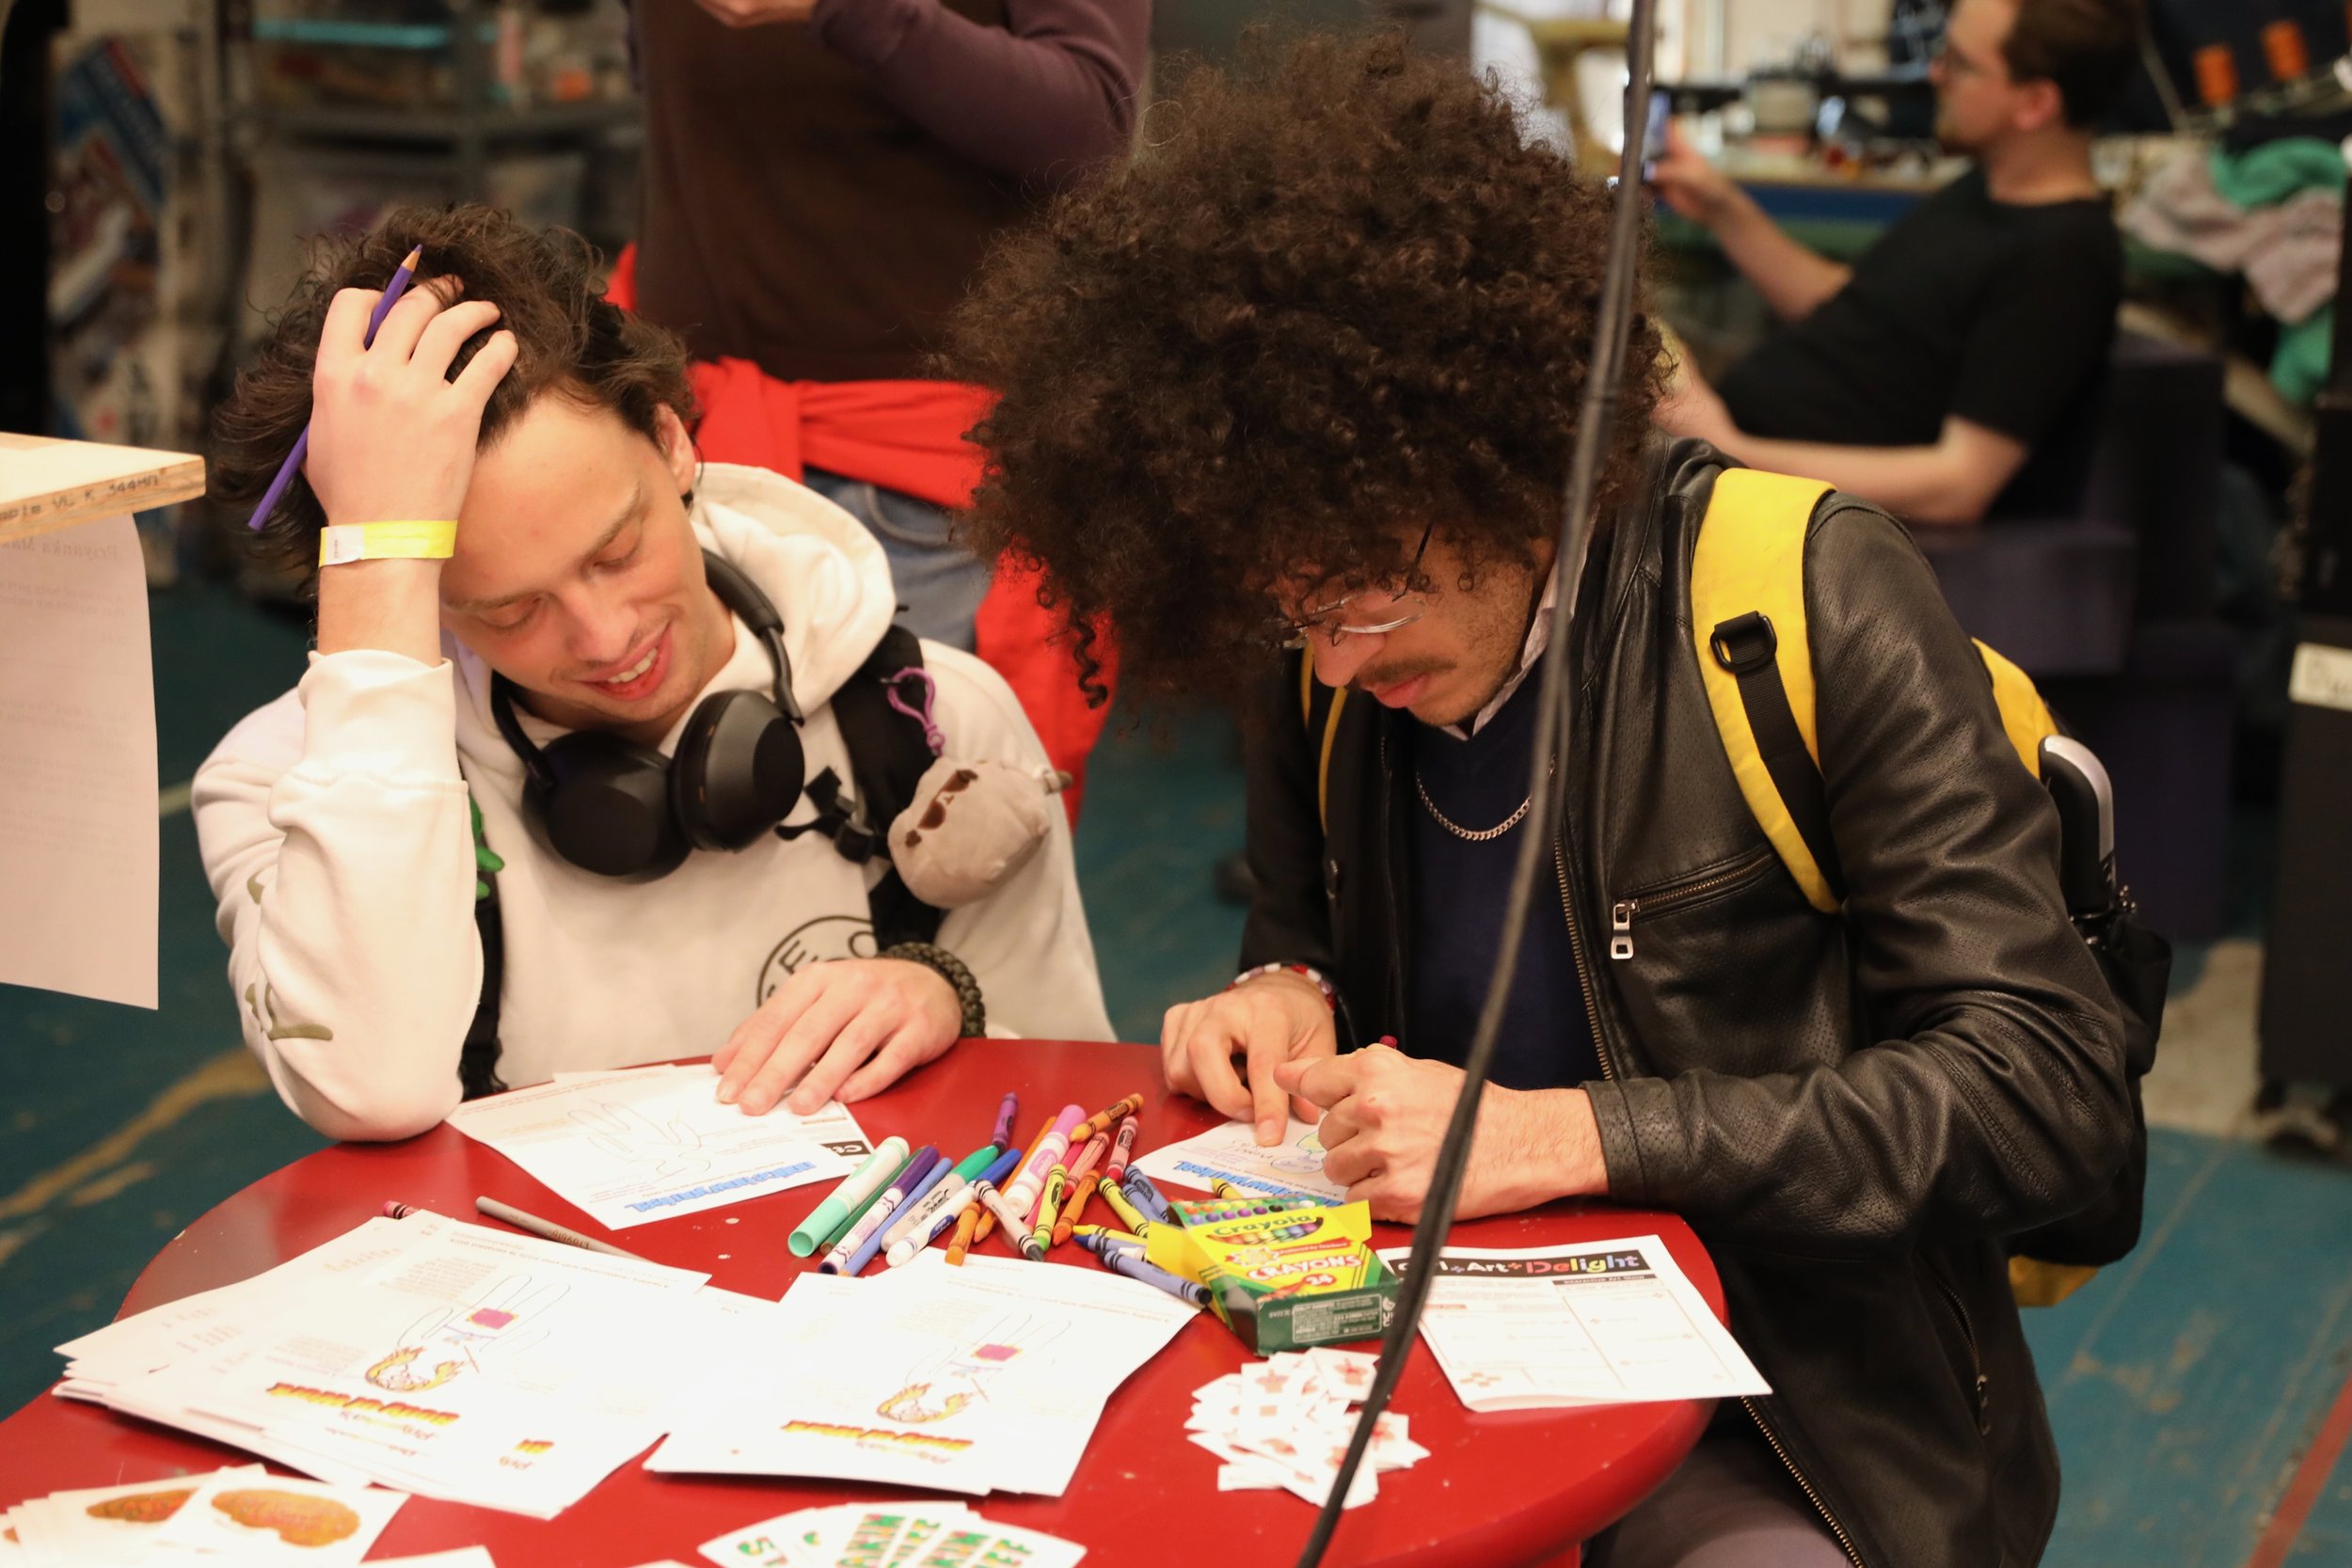
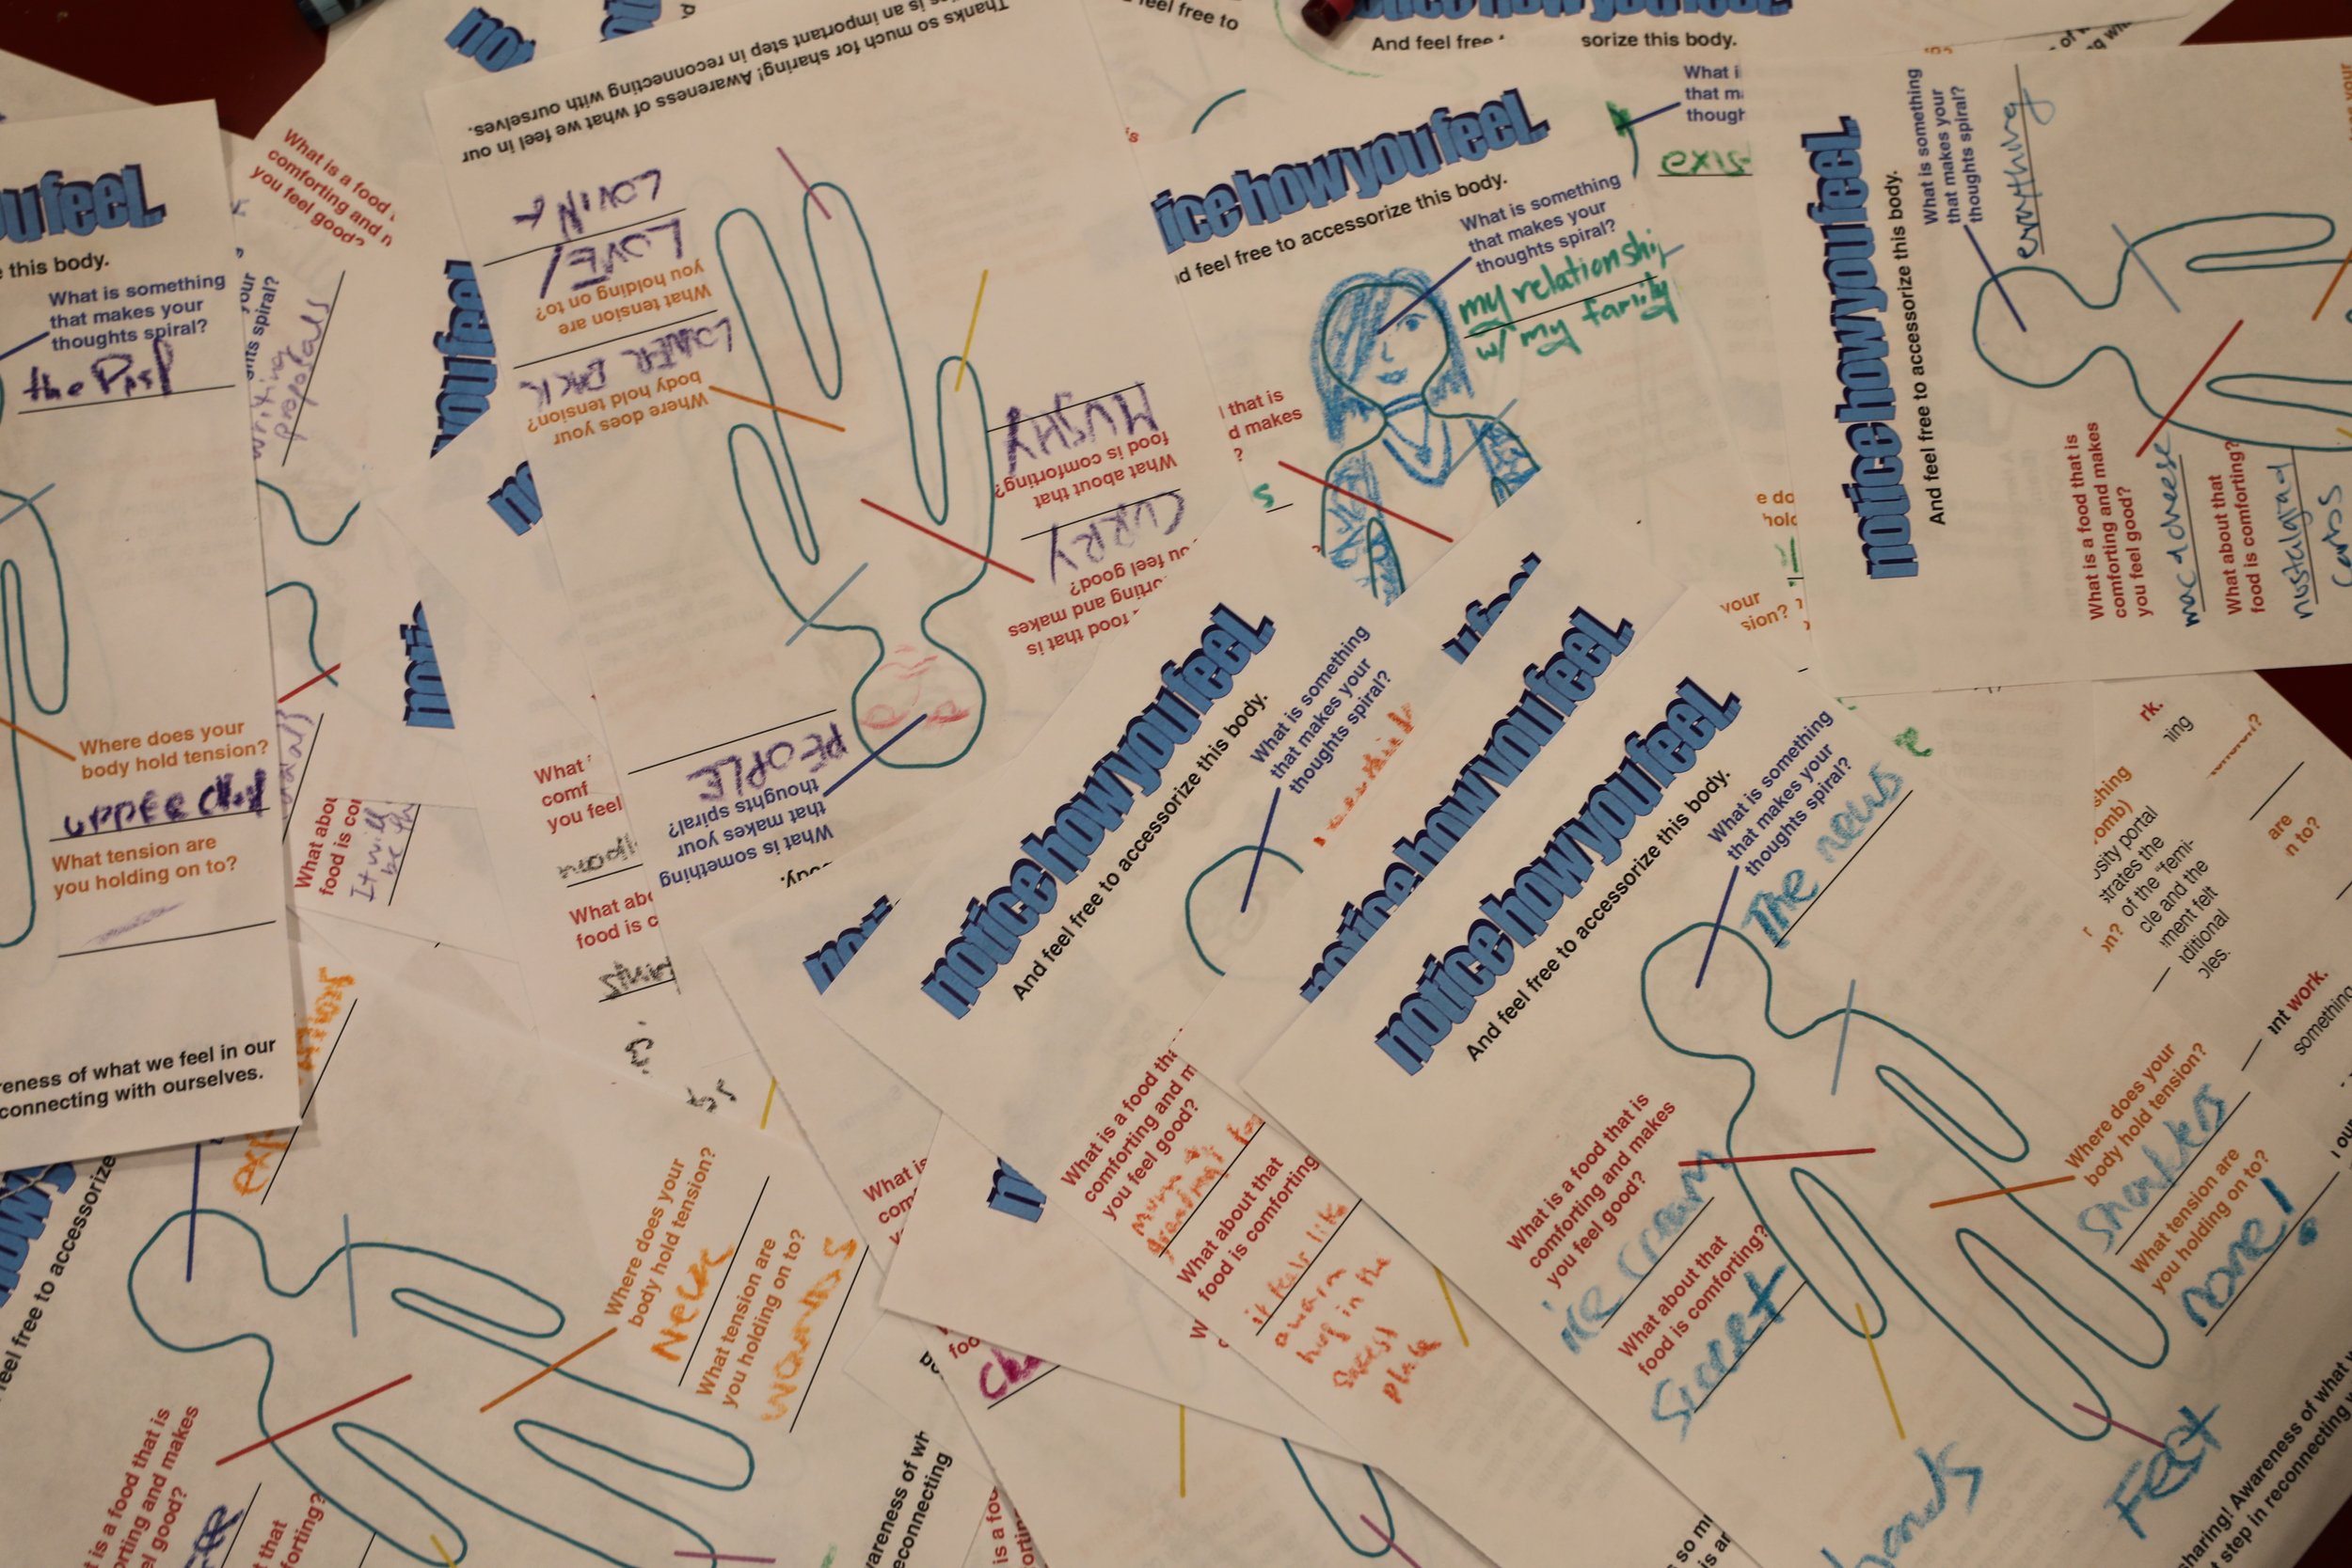
Because there are multiple parts to my thesis and the work I’m presenting is really personal to me, I decided to create a little handout to give viewers some context for my work. I wanted to invite the viewer to check in with themselves and I offered them a guided body-scan meditation based on what I learned in making my “embodiments”.

I placed these handouts with a box of crayons on a table next to my sculptures and I got surprisingly many responses! I collected all the responses in this google spread sheet and I’ve scanned some special ones. Not sure what this data means or adds to my project yet…

3D scan and print head

My buddy Kay told me that they just got their face scanned at NYU’s LaGuardia Studio and got the majority of the cost covered by grant money we have at ITP, and that it might be something relevant to my project as well. So I took their idea and ran with it. Laguardia is such a great resource to ITP students and they were really quick with post-processing and sending the files.

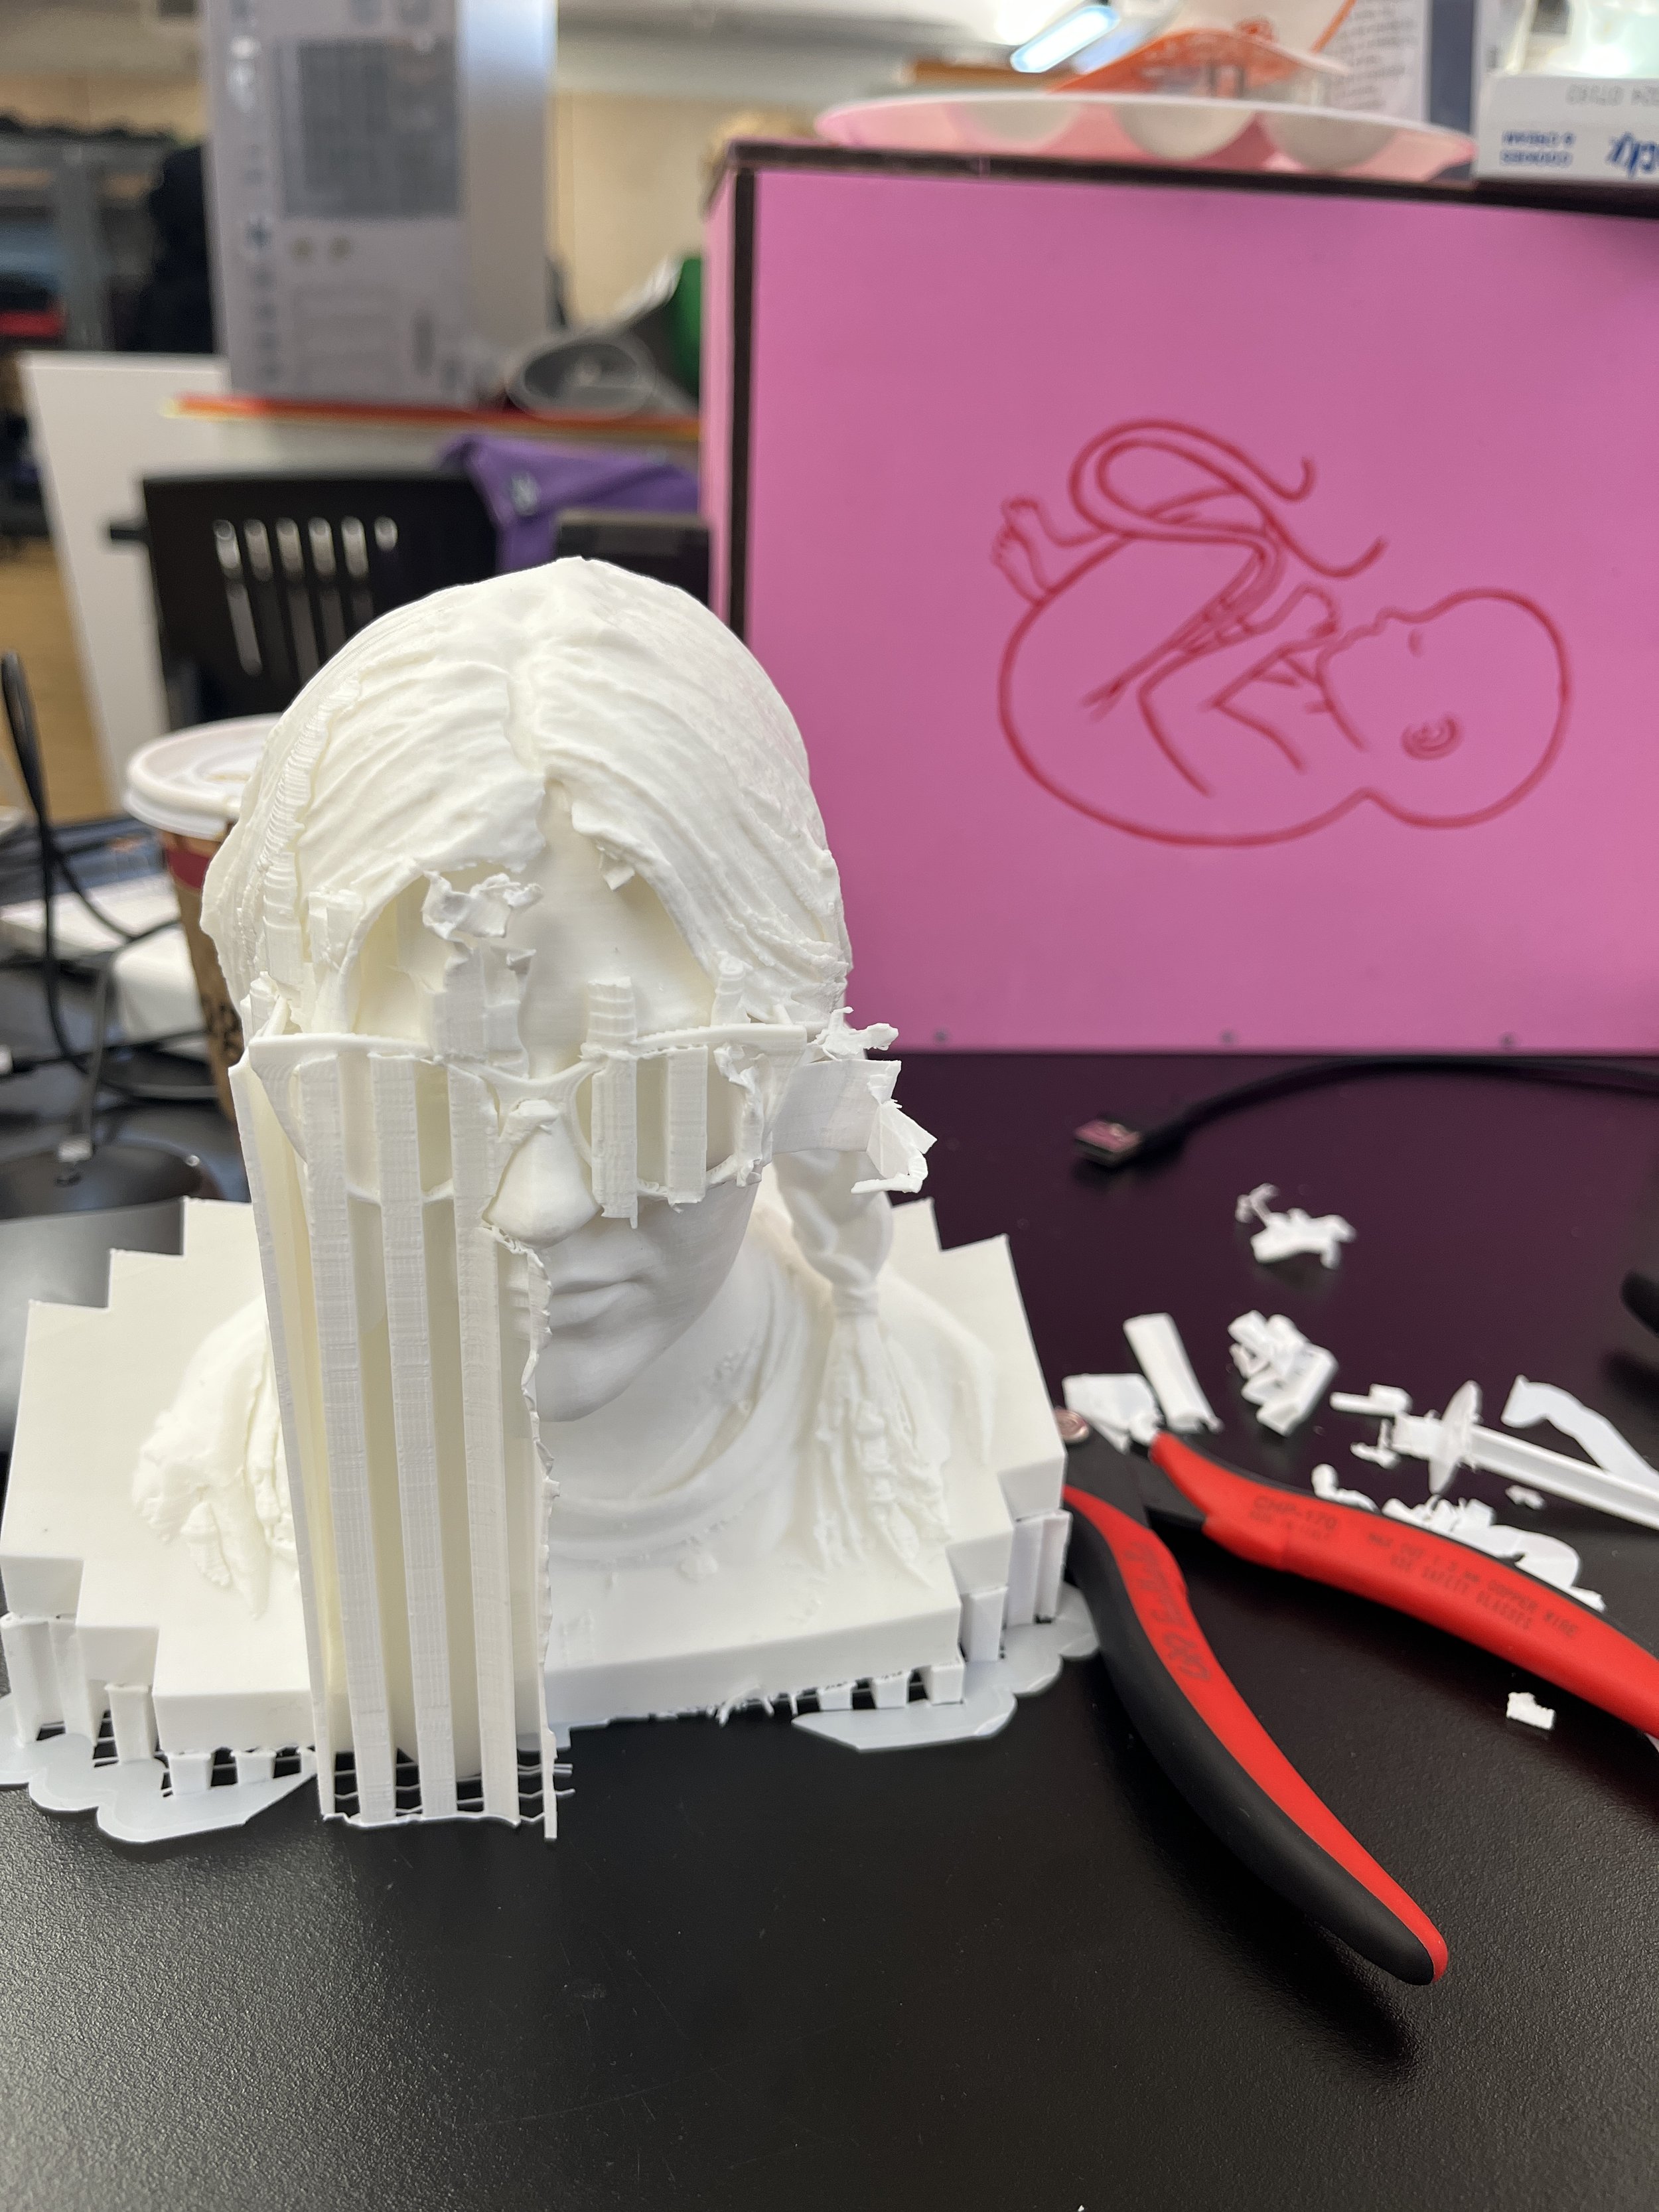
I was able to bribe my buddy Mat with a milkshake to help me get the scan ready to 3D print. He helped me get the super large file into Blender and simplify the mesh. To get a good scan, I had to remove my glasses and some of my jewelry but those are really important to the Priyanka-aesthetic. Mat modeled my glasses for me and helped me add the finishing touches of a septum ring and base.

Before printing, we dialed in some settings in Cura, specifically the nozzle speed and layer height which both affect the quality (and time) of the final print. My 5 inch head took 1 day and 5 hours to print … on the big special printer! <3

modelling glasses in Fusion

close up

support material in Cura

Ok, those 3D printer lovers never tell you how much work it can be to remove the print supports! I thought they would just fall away easily. Nope! It took a lot of force, care, time, and cutters+pliers to remove them. The only issue I really ran into is that the glasses ended up being really thin and they were super delicate. I broke them a few times, but it was nothing that some super glue couldn’t fix.

Projected head

So my last little gimmick I wanted to make was my projected head, bopping around on the floor. You know, like how logos are sometimes illuminated on the floor when you open the door of a luxury car? I also wanted to join all the projection cool kids. But you know what this means, right? I needed to revisit the infamous Hypercinema Cornell Box…

I made a new Unity project and plopped my head scan (.obj) in there. I also found the old assets from Gabe’s class to get a box. I mostly followed this tutorial to write the script to get my head bouncing around. To get this animation made, it honestly was a bunch of googling and youtube tutorials, the helpful ones I’ve linked below. To get the head to look like it was bouncing around in emptiness, I turned off the skybox under the camera settings and changed the background color to black. Once the physics of the “game” was all sorted out and the scene looked right, I just built the Unity project which makes it really easy to run.

C + A + D show

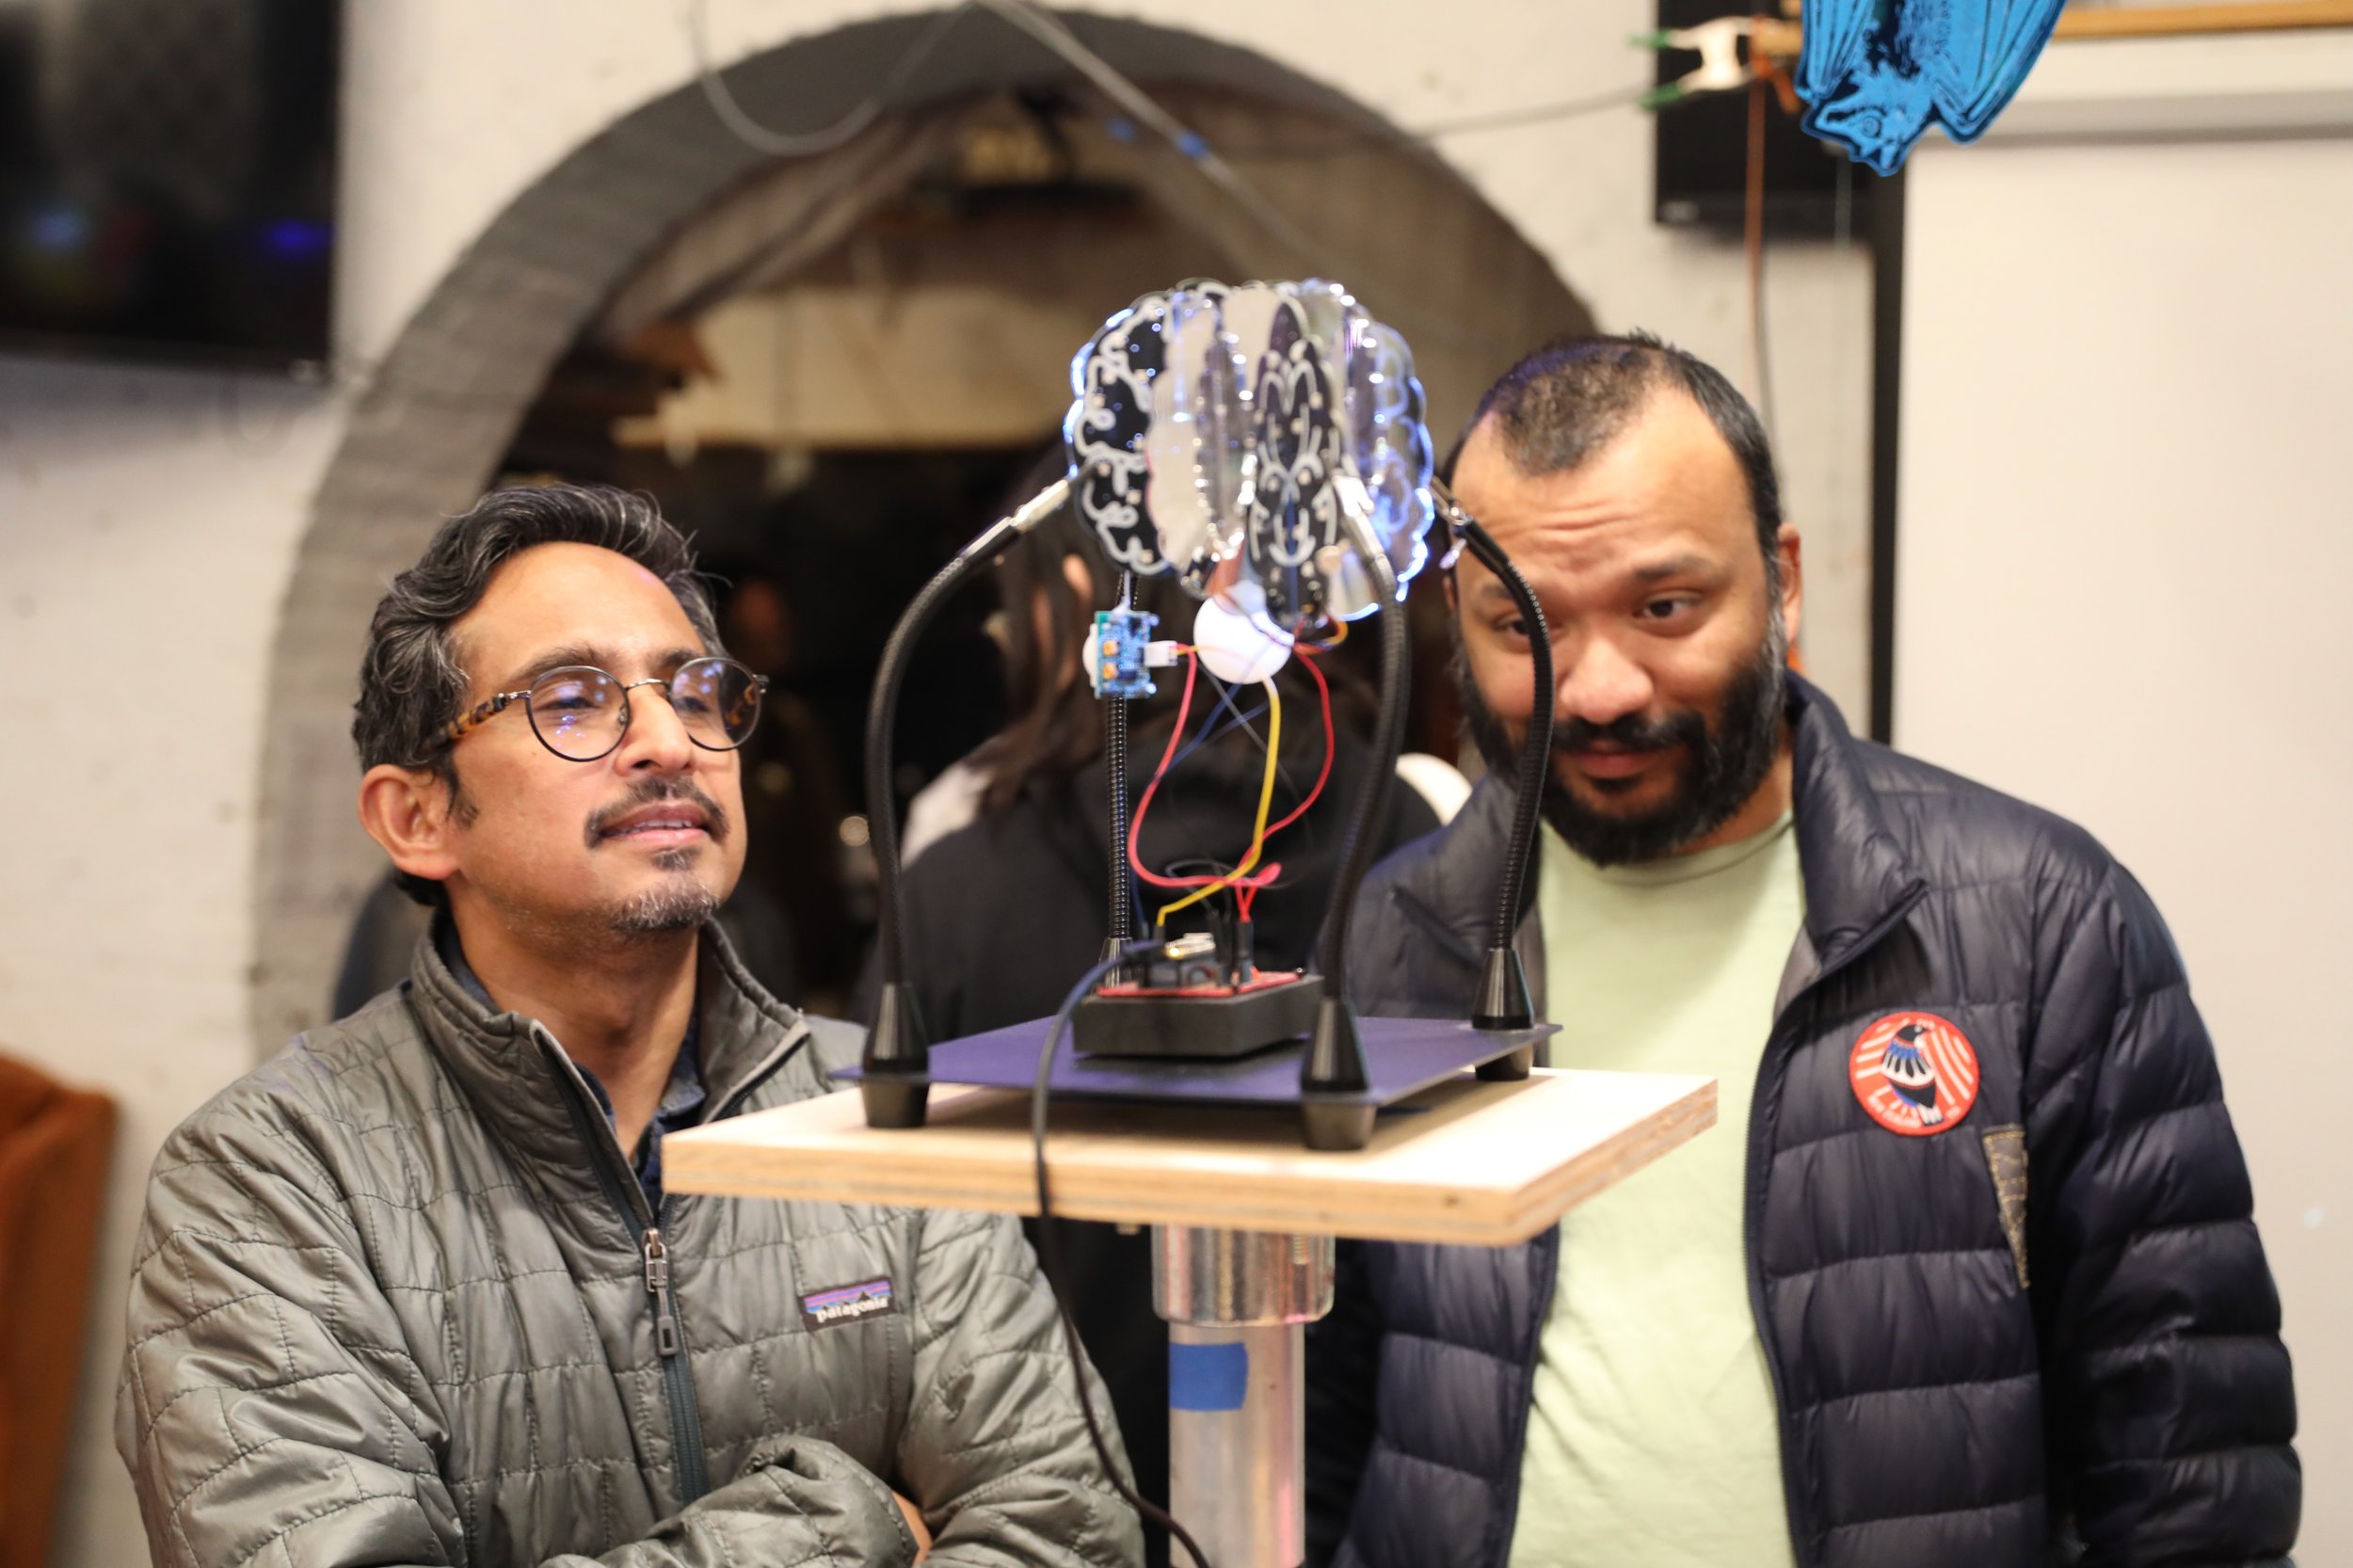
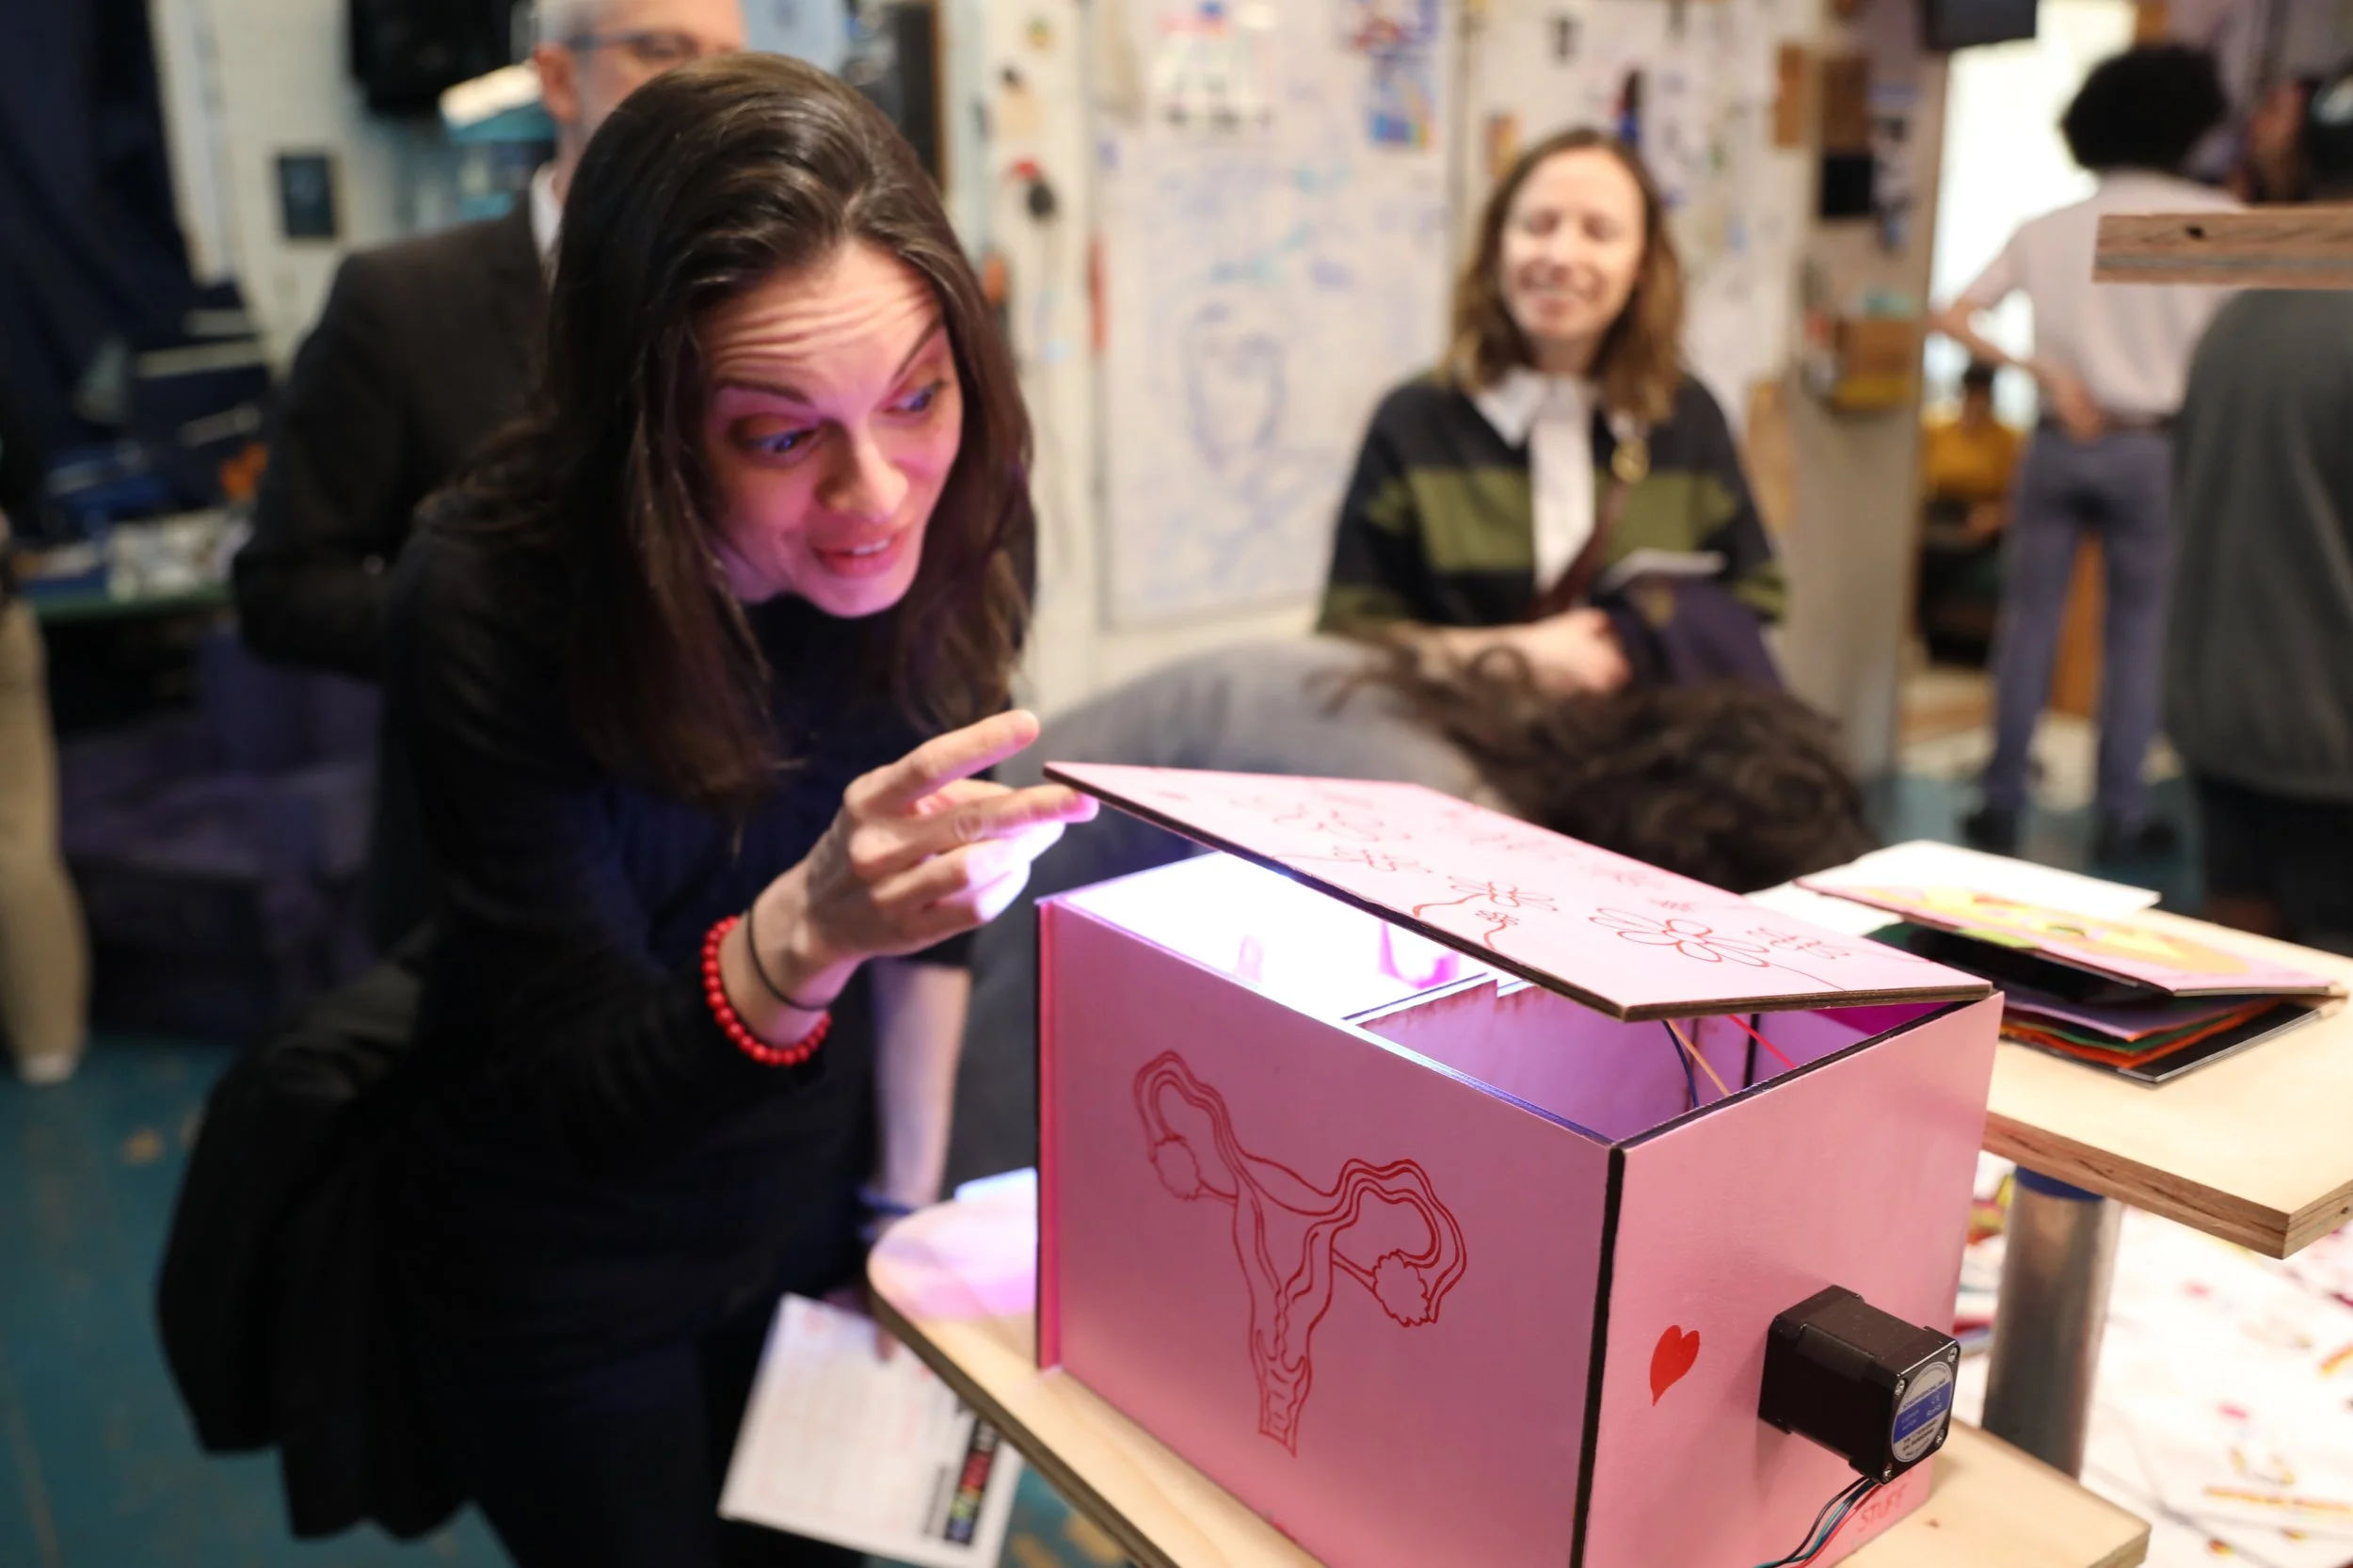
I am feeling so lucky, and admittedly SO burnt out, but our group thesis art show @ NYC Resistor was A HUGE SUCCESS! I got my project all done, install and show time went without a hitch, and I got really great feedback and participation with my thesis! I plan on writing a more comprehensive blog post about how we organized this art show and how it went for our group in the future, but in the mean time here are some of my favorite photos taken by Hank during the show.

[ITP: Thesis II] Alumni Feedback

Alumni Feedback

Here are the scribbly notes I took during my crazy alumni feedback sessions. I met with some really talented artists and got some great pointers. Specifically, Darcy Neal, Ari Melenciano, ❤️ Khushbu Kshirsagar ❤️, and Hayeon Hwang… and I roped in my new teacher Alan Winslow to give me some feedback as well!

Here is the relevant feedback:

  • Create a “take-away” paper —> maybe a body passport, checkin? ask questions

    • Could ask the viewer to describe me or what they learned about me, what they learned about themselves?

  • Installation is touching in with the senses

    • Grounding, polyvagal theory, fight/flight/freeze

  • Potentially add soft material?

  • You don’t need to make your art make sense to other people

  • What are you looking for by getting more connected with body?

  • Project is relatable, vulnerable

    • Reflect yourself and the viewer to themselves

  • Create thoughtful/intentional exhibition

  • Alumni like the sketches and illustrations…

  • Make the viewer go deeper

  • Thesis is not the end, it can be the middle

    • It is okay to compromise on the scale

  • Since pieces are so different, uniformity in showing the pieces could be good —> pedestals, table, whatever

  • Could collect body samples using a contact mic

TMC2209 stepper motor driver

Womb

So, I’m bringing back the washing machine!! I originally made this curiosity portal for Sharon’s STEM Accessibility class. I was able to get it like 90% done last year but the motor couldn’t reliably turn the drum and I feel like I got too edgy with the concept and I abandoned it totally.

To get it up and running, the first step was getting the motor system going. Based on some advice from Phil, I got a new big, bad motor and his favorite driver, the TMC2209. I got some help from other stepper experts Jeff Feddersen and resident Gracy to get the motor and driver up and running! Here are some updates I needed to make to my circuit:

  • I needed to chop off the two pins that were in-line with the ENABLE pin —> out-of-the-box configuration is not meant for bread board

  • GND the ENABLE pin

  • Through some testing, I decided to implement microstepping of 8 microsteps to get the speed that felt right

From stepper driver documentation

It is really amazing that you can move a stepper motor just by blinking a pin! So I didn’t use any motor libraries in my final code. I also whipped up a lil sequence for the washing machine to follow, with some typical washing machine randomness. I also put in some neopixel action to get some portal lighting. As always, you can find my code and other files at my Github repo.

Motor wiring

Stomach

I also worked really really hard on finishing up my journey-to-my-stomach pop up book. Another body part down: stomach✅. You can find all my documentation on the paper process at this blog post.

Face

The last body part I’m working on is the inter-FACE. This is the least baked body part. Inter-FACE will be the interface to this synth on the left. I’ve got quite a bit of work still to do. You can find some of my progress at these blog posts.

Thesis Show @ NYC Resistor

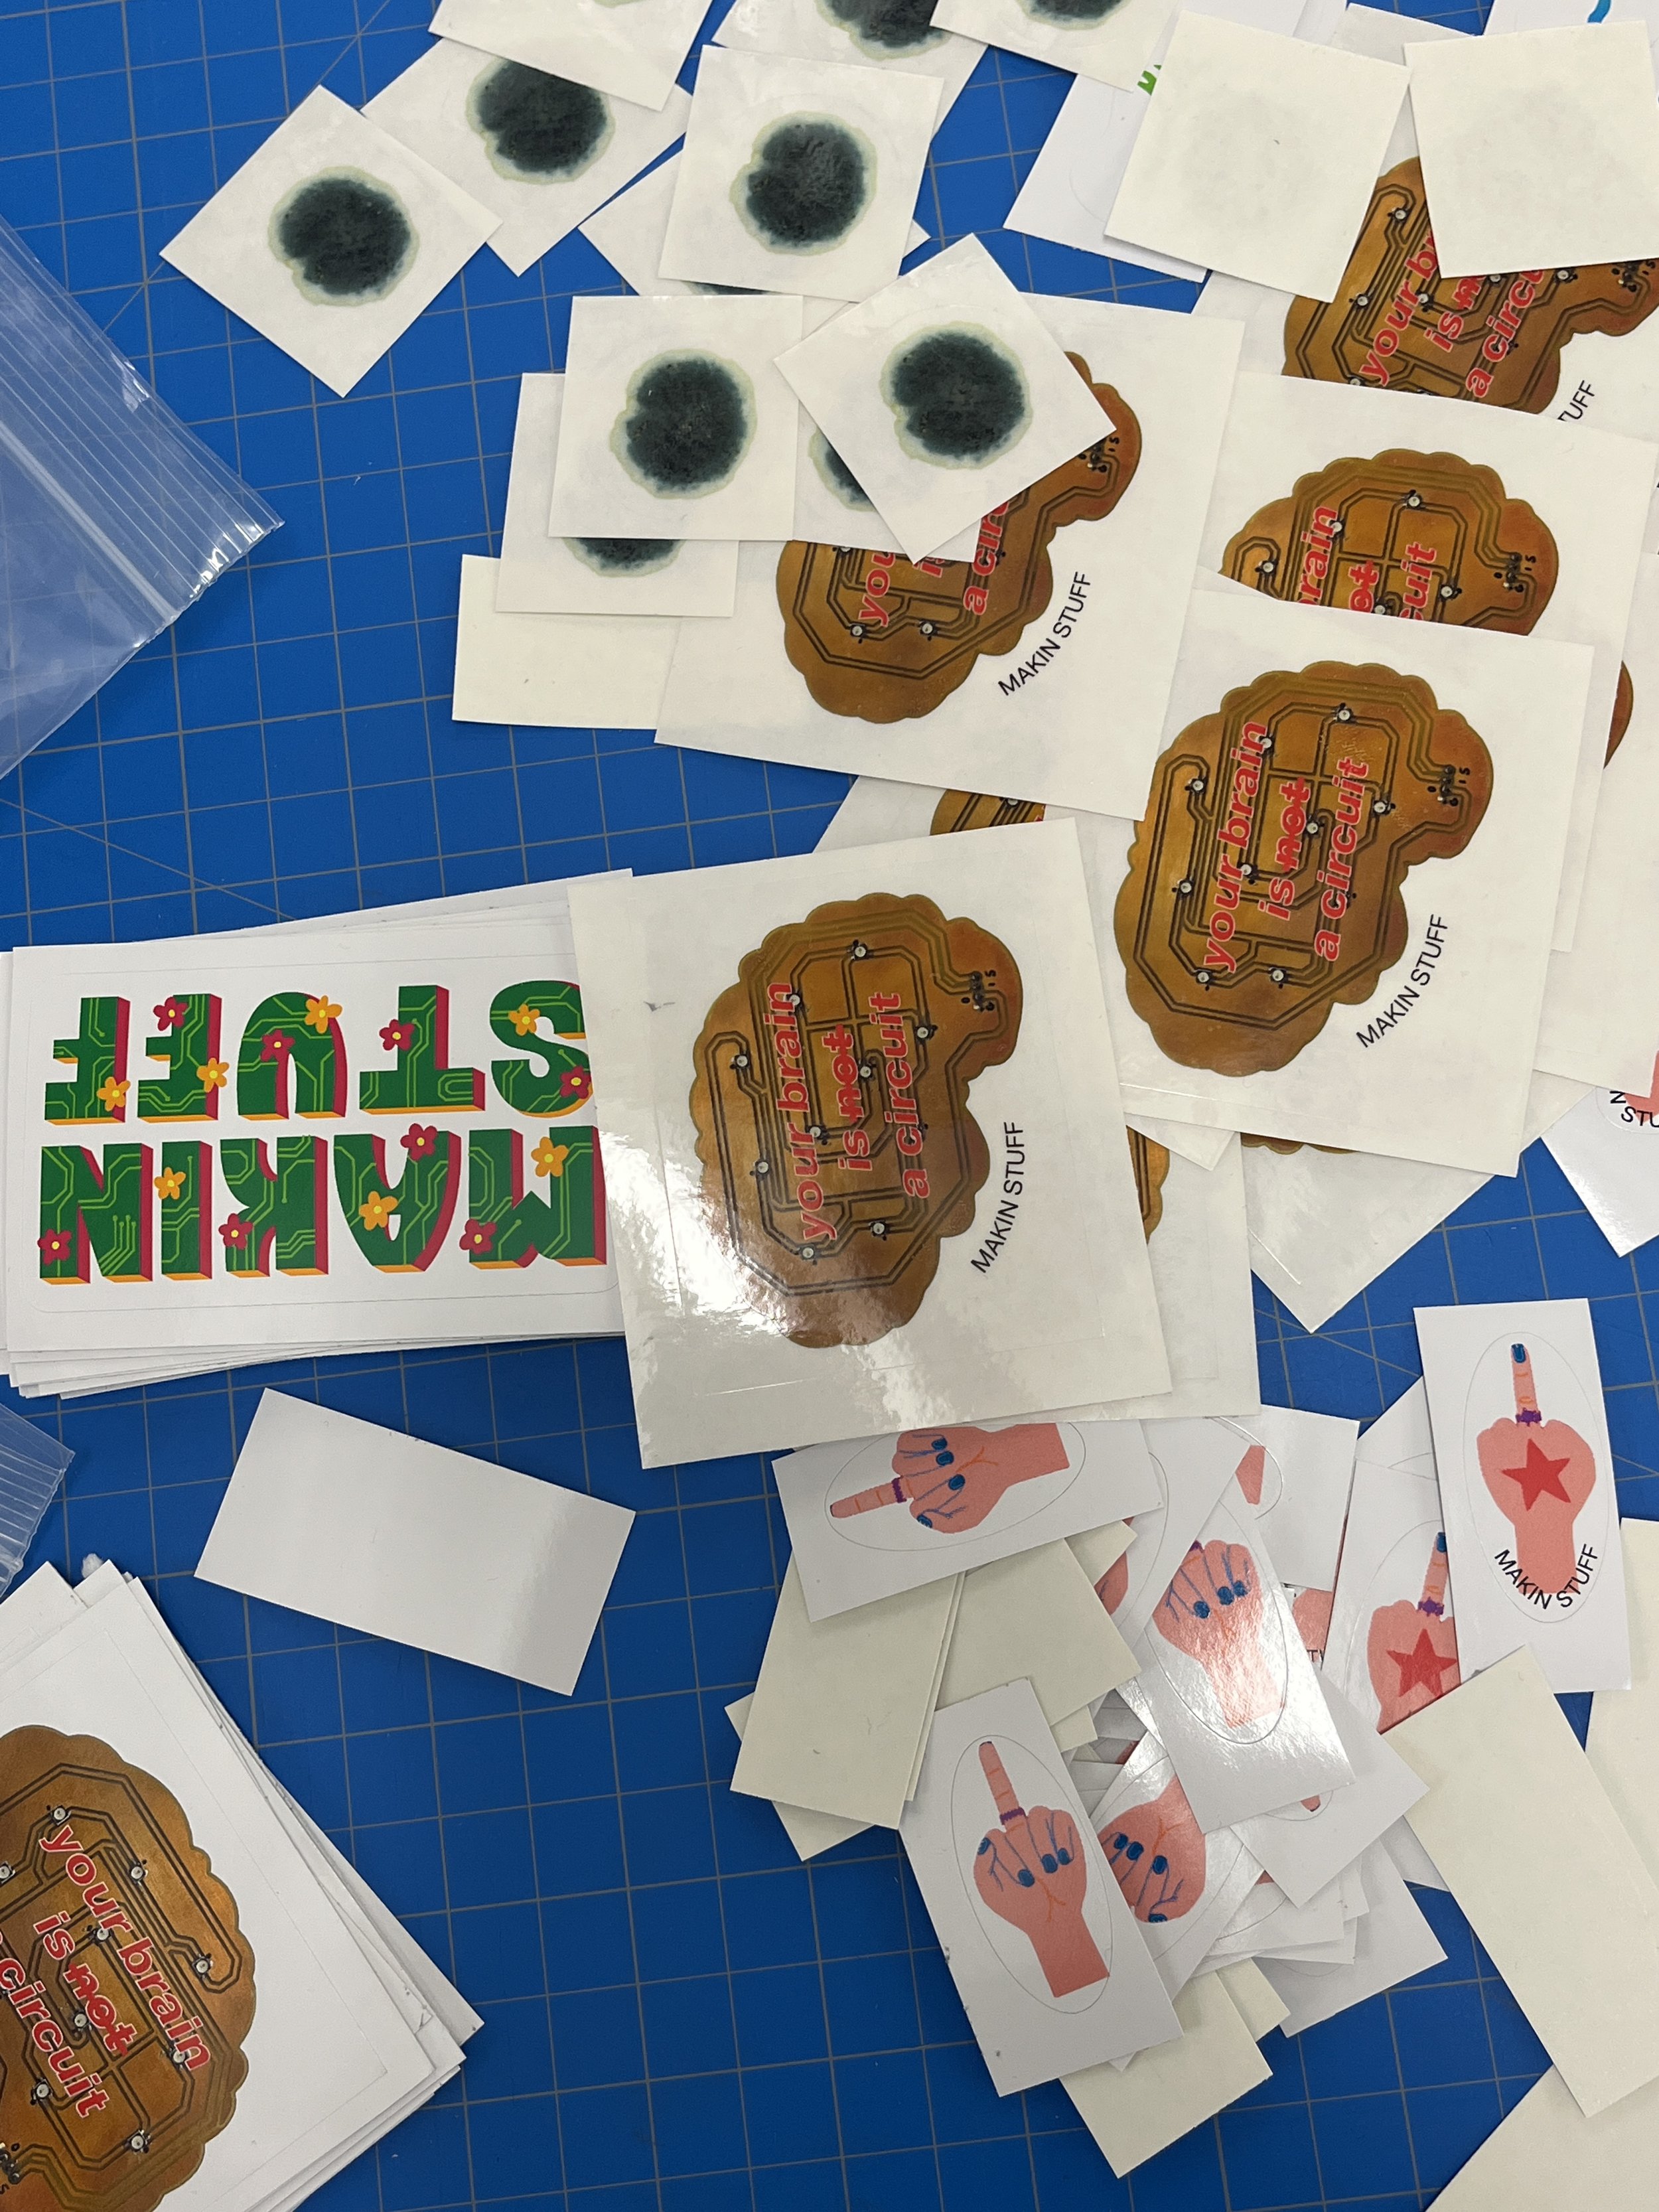
On top of developing my thesis itself, I’m curating and producing a group thesis show at one of my favorite NY spaces, NYC Resistor. With the help of my buddy César, we put out an open call to be a part of the show, went through submissions, organized the artists into production teams, and did all the coordinating with the venue to make the show a reality. Below is the beautiful show poster designed by Angie Kim and some stickers I made to give away!

Stickers for the show!

[ITP: Thesis II] User Testing Day

There’s really a short in my brain now

I got my new, beautiful boards from JLCPCB this week. I feel the revision was totally worth it! I love the look of the black solder mask and the white silkscreen.

During this last week, I went through the same process as before to populate my new circuit boards. I give more details on this in a previous blog post.


The problems begin…

After the boards got populated I had to do my least favorite hardware task: debugging. Below you can see I had an issue with one board, not all the LEDs were lighting up as they should. Since the circuit is so simple, I know the issue is an unconnected or dead LED. I removed that pixel and you can see in the image on the right that one pad didn’t get soldered because the paste didn’t reflow. Replacing the LED fixed it!

Broken LED chain

Unsoldered LED pad

Here you can see my fabulous, new mechanism for connecting the two boards together. At this point, all 160 LEDs were lighting up perfect! I soldered the two boards together, assembled the sculpture, and left for the night.

In the morning I tried powering my brain and I had a short. This was super frustrating because I tested the circuit at every step of population (or so I thought!). After some debugging with my multimeter, I realized my bigger, badder, stronger pads I used to solder the two boards together were actually shorting power of one board to ground of the other. I had to desolder the two boards and re-attach using hot glue like you see below.

This is the problem in my schematic

Here’s the fix in EAGLE and I’ve updated my repo with brains V12 which don’t have this shorting problem! Ground ground ground ground ground ground ground

She’s beautiful and she works! :’)

User Testing Day!

Here are some pics from user testing with other thesis students. Somehow, brain v1 broke on the trip over from my staging space to the user testing classroom! It’s really perplexing and frustrating, but something I need debug in the future.

Here’s some feedback I received that could be helpful:

  • Try free writing about what the project/process means to me

  • I can put parts of myself (nails, hair, eyelashes) into the resin knobs

  • All the sculptures seem like they are from a different POV, watching yourself from the outside

  • Include the drawn portraits as decoration, maybe people can make their own?

  • Face synth - play back samples of voice reading back personal texts

References

Blog post with circuit board population process

EAGLE files for brain v12

[ITP: Thesis II] Prototypes

Brainstorming

Now that my brain is in a good place, I needed to revisit the rest of my body. I started by doing a sweeping check: what is my experience in my body? What are my body interfaces? This is sometimes really hard for me because I’m usually unconnected from my body and constantly live in my anxieties.

I’m hoping to roll my final project for my synth class into my thesis and I had this genius idea of creating an interFACE to go along with my brain. I did a really wild and free sketch of what this analog synth interFACE might look like in my dreams. Can I think of my face as a series of inputs and outputs?

Paper Prototyping

Paper Portrait

In my paper engineering class, I played around with the concept of a paper self-portrait. You can find more info on my process at this blog post.

Nipple Knob

I also CANNOT LET GO of this idea I developed with my friend Elyana last semester of a nipple-shaped knob to attach to potentiometers. I did a simple prototype using some pink paper. I think this prototype really the purpose of visualizing the form but for the more developed version I thought I might have to model the knob in 3D and print it. I did book some office hours with Phil, and normally he’s preaching the gospel of Fusion, but he actually recommended I attempt doing a life cast. I love this idea because it feels more aligned with self-portraiture. So, I’ve ordered all the goops and powders (alginate life cast, plaster of paris, silicone, and resin) to make my own molds and knobs. More on that later …

Stomach

I am also pondering what a paper sculpture of my stomach may look like (I’m starting to think about my final for paper engineering). My stomach is usually the first to notify me when I’m anxious. It feels like there’s a hole, it’s infinite, churning, turning, something moving around in there. I tried to embody that with this quick paper prototype.

Feedback from Class

Lol I have some scribbled notes in my notebook and IDK what they mean anymore. Here’s what I can make out:

  • My project is humanizing tech, symbolizes your body on tech

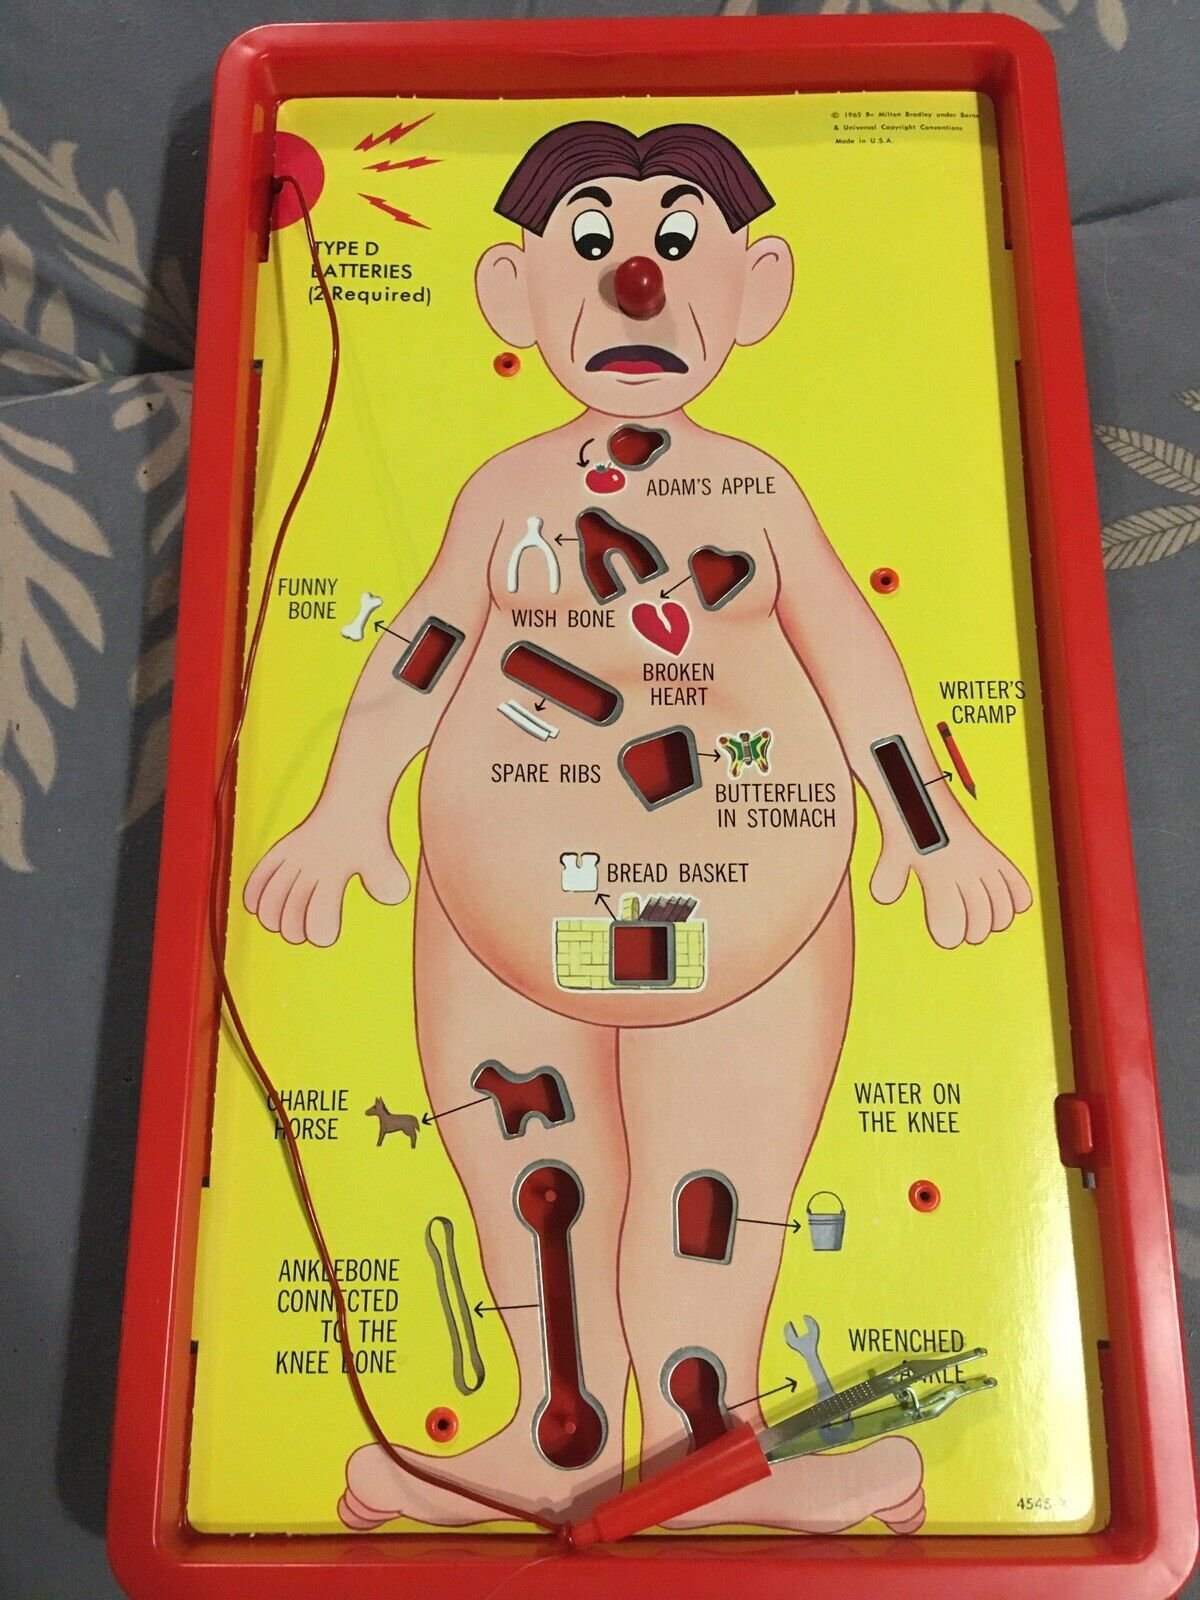
  • Operation game

  • Tactile, physical

Q: Does my project need something soft?

Also! I love it here! Here are my friends singing me happy birthday🥹❤️

Talked to Ali

Here are some references and ideas Ali shared with me:

  • David Hammons - uses the body as an art medium, body prints

  • Bodies exhibition … there are a lot of these!

  • Body Constructs @ MoMA

  • Slim Goodbody —> need to watch, I feel like this is really relevant because it is cheesy and humorous. Totally my vibe

  • Herman’s Head - giving characters to different personalities of self

  • Is my thesis an exhibit? Are these sculptures prototypes for larger works? Scan them, put them in VR and scale them up? Recordings of self?

[ITP: Thesis II] Here's what you missed on Thesis...

This is the recap blog post. If you need more context check out my last blog post.

I finished and presented my brain at the ITP Winter show. Yay!

I also finished reading the article “Defecating Duck, or, the Ambiguous Origins of Artificial Life” by Jessica Riskin and started a new book on “Portraiture” by Shearer West. I’m hoping this will give me good insight and historical context for my thesis project which will ultimately (hopefully) be a portrait.

I also revised my circuit boards to make an even better brain based on some feedback from my bud Nick Poole (at SparkFun). Here’s what I updated:

  • Add “pin 1” indicators outside of LED package

  • Add more, bigger electromechanical pads for soldering the two boards together. Nick gave me a tip that putting a via through the pad could work as a rivet to make the connection even stronger.

  • Switch header pins to qwiic connectors to make connecting easier

  • Add silkscreen to label boards and pins. Add silk screen brain folds.

I used SparkFun’s Buzzard tool to generate the silkscreen. I was able to draw the folds of the brain in Illustrator and import them into EAGLE using the Buzzard Image importer. I ordered my boards on 02/04 and have all my parts ready to build them once I have boards in hand. Super exciting!

Buzzard test with some scaling issues

Buzzard settings

Brain with hand-drawn folds

PCBs ordered!!

I did a tiny bit of reflection and am starting to think through more “body interfaces”. It’s giving Operation vibes. Maybe I’m just Cavity Sam…

No ground breaking ideas yet, but I am making my own synth in another ITP class. I’m hoping to fabricate an interFACE for the form of the analog synthesizer. A face for my brain. More updates about that to come.

Here’s what I’m planning on doing next:

  • Try out motor system for washing machine/womb. Finish the sculpture and document.

  • Prototype: 3D model and print nipples for potentiometer knobs in Fusion (oh no!)

  • Sketch/scribble some self portraits. Reflect on how you see your self.

  • Think through more body interfaces. How do you exist in your own body?

References

https://sparkfunx.github.io/Buzzard/

https://github.com/sparkfunX/Buzzard/wiki/Image-Importer